

You grabbed your Shark handheld to clean up a quick mess, and now it won’t power back on. Most owners assume the battery is dead, but charging issues are often the real culprit. Even popular models like the SHARK CH950UKT can develop frustrating charging problems that leave you guessing. The fix is usually simpler than you think once you know what to look for. This guide walks you through how to charge a Shark handheld vacuum, from the basic method to troubleshooting error codes. You’ll also learn when to stop troubleshooting and contact Shark support for help.
Standard Charging with the Included Charger
Plug the Charger Into a Wall Outlet First
Start by connecting the original Shark charger to a standard household outlet. In the UK, this is a standard three-pin socket. If the outlet hasn’t been used in a while, test it with another device to confirm it works. When using a power strip, make sure it’s switched on and receiving power before you continue.
Connect the Charger to the Port Below the Handle
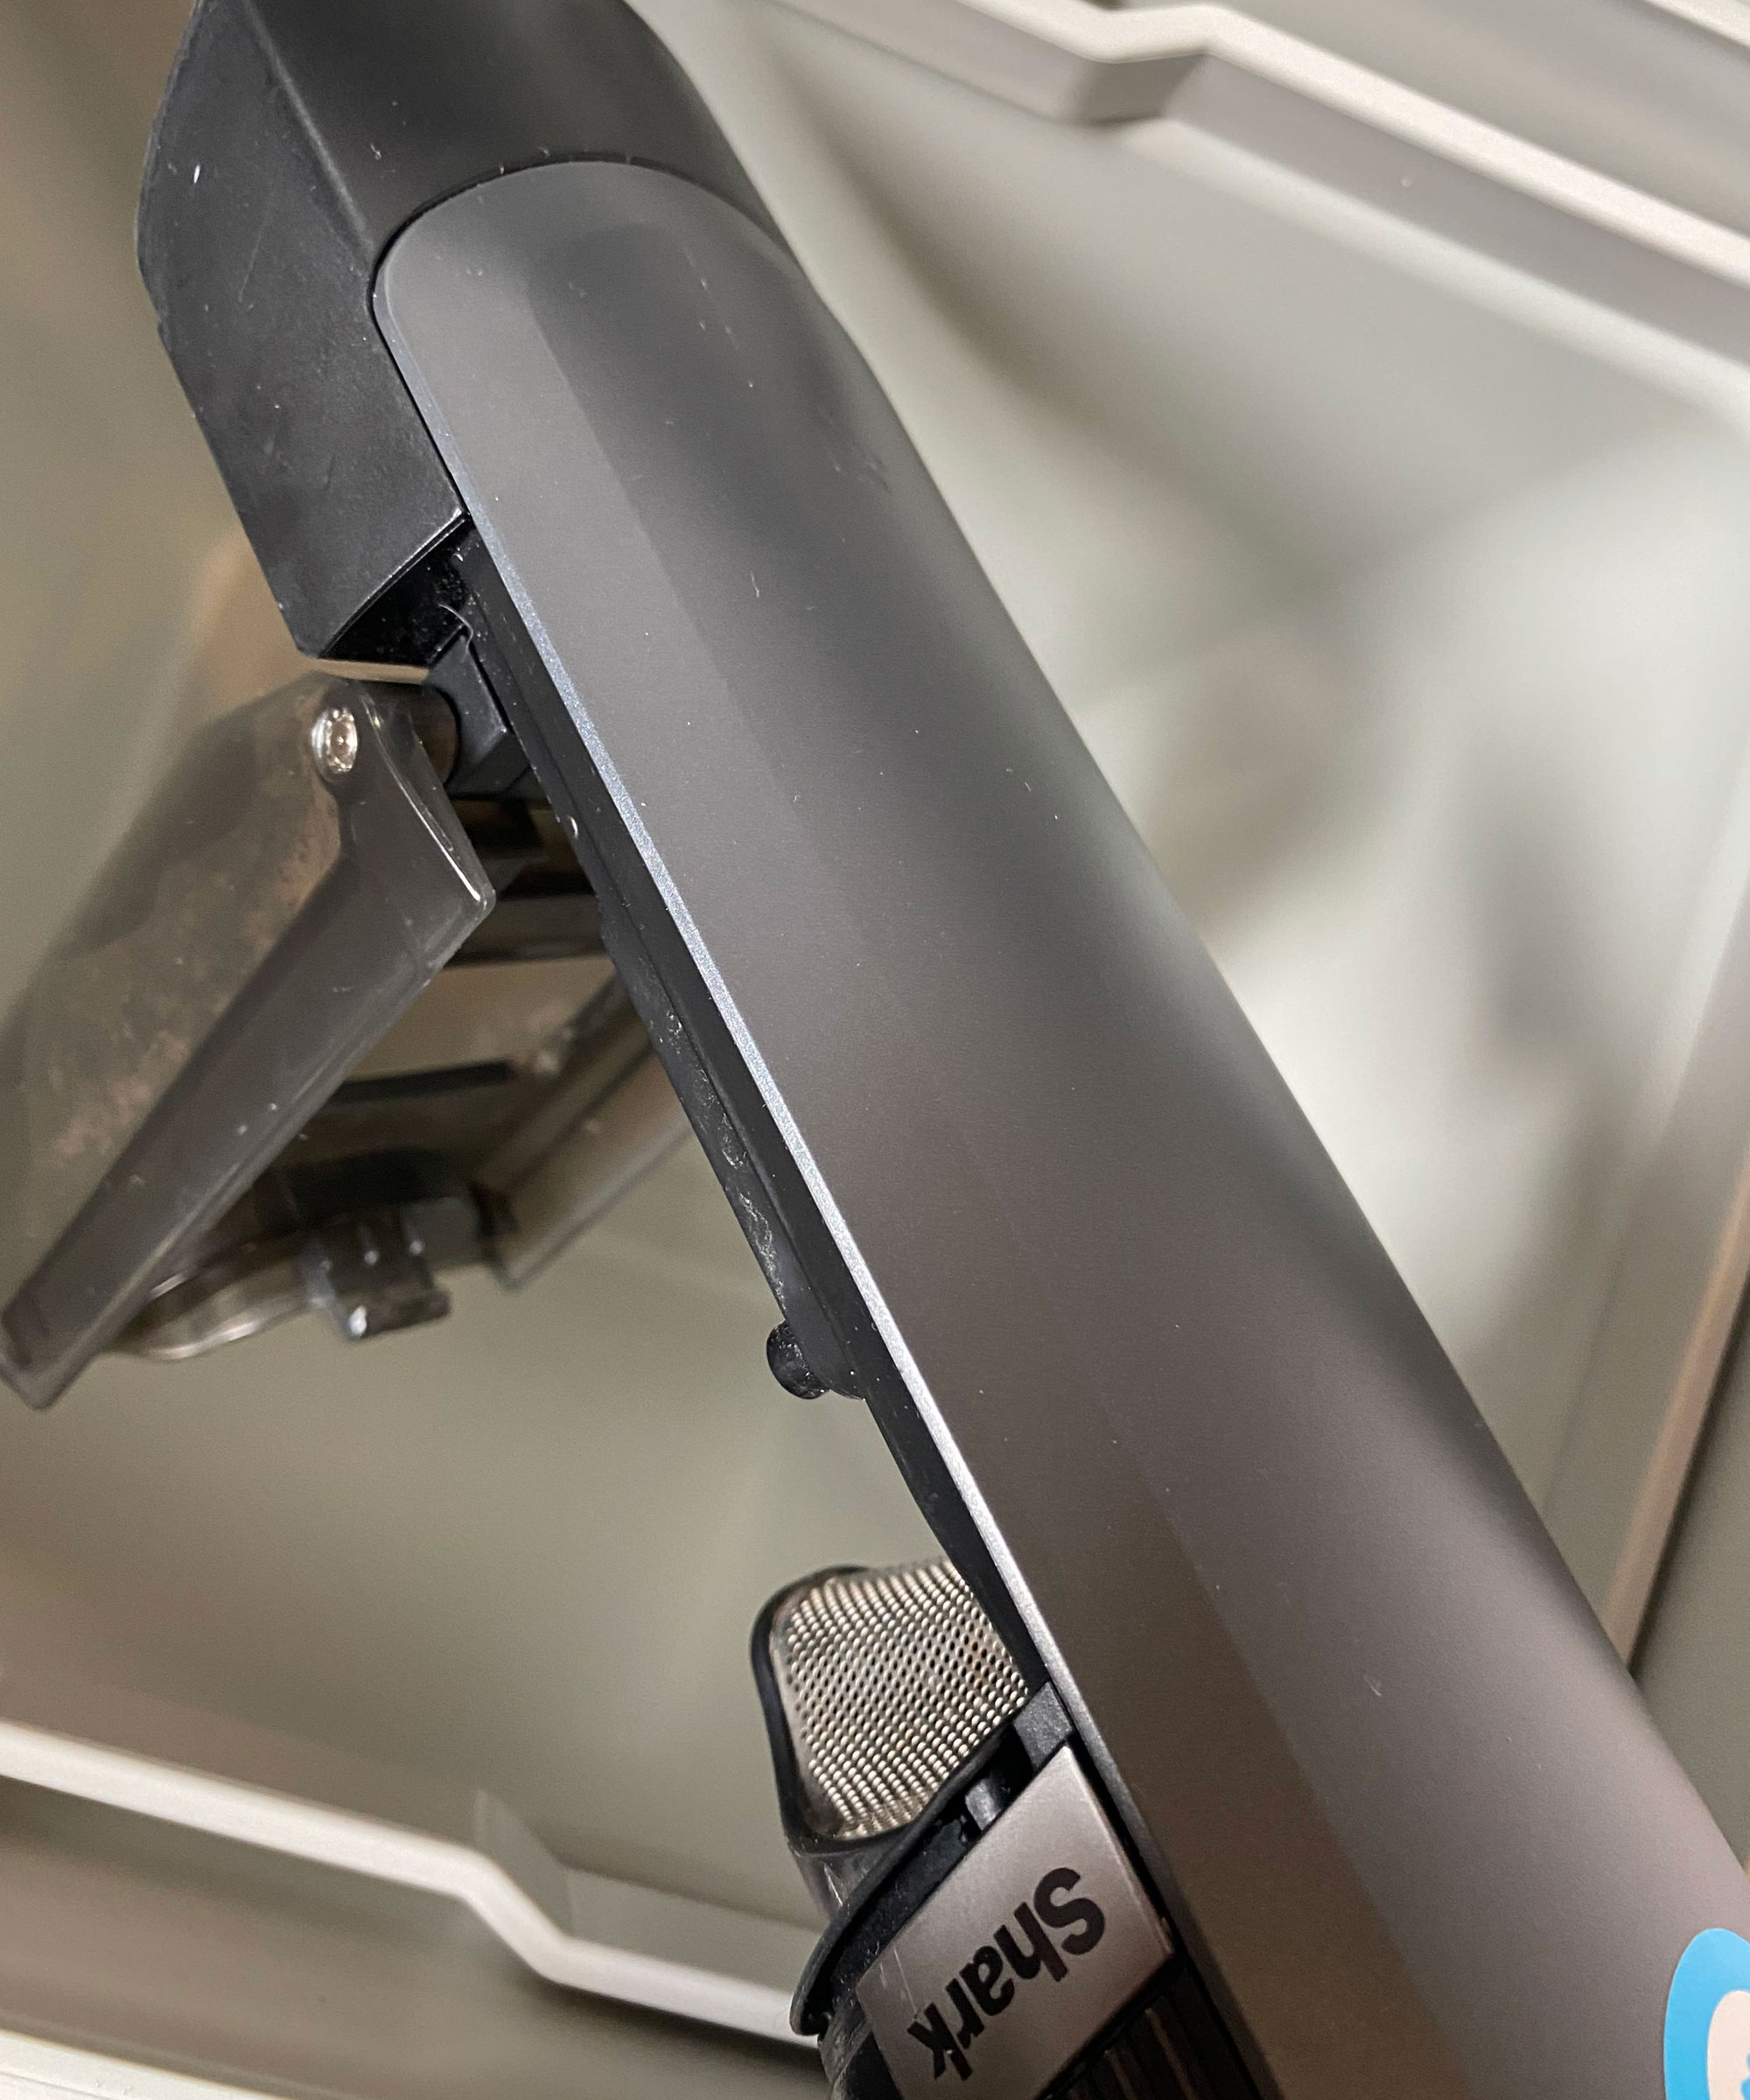
Locate the charging port beneath the handle on your vacuum. Insert the charger plug firmly into the port until you feel a slight resistance. Forcing it can damage the connector. Once plugged in, a charging indicator light should appear on the unit. The light will either stay steady or pulse, depending on your specific model.
⚠️ Warning: Never use a third-party charger. If your vacuum flashes five times after plugging in, it’s warning you to use the included charger. Only Shark-approved chargers deliver the correct voltage for safe charging.
Allow the Battery to Charge Fully
Leave the vacuum connected for 3 to 4 hours to reach a full charge from empty. Avoid unplugging early unless absolutely necessary. Completing a full initial charge helps maximize the battery’s overall lifespan and performance.
Charging Using the Docking Station
Place the Vacuum on the Dock Properly
Models that come with a wall-mounted or tabletop dock offer a hands-free charging option. Set the vacuum on the dock so the metal contacts on the unit align with those on the dock. You should hear a soft click or feel the vacuum lock into place when properly seated.
✅ Pro Tip: Use the dock for everyday storage. It keeps your vacuum powered up and ready for quick cleanups while supporting long-term battery health.
Confirm the Charging Light Is On
Once docked, the charging indicator light should turn on automatically. If nothing happens, lift the vacuum off and reseat it to ensure a solid connection. Dust buildup on the metal contacts can interrupt the charge, so wipe them down with a dry cloth if needed.
Remove the Vacuum When Charging Is Complete
When the battery reaches full capacity, the indicator light will typically turn solid blue or switch off entirely. At that point, simply lift the vacuum off the dock and use it right away, or leave it stored until your next cleaning task.
Understanding Charging Indicator Lights
Five Flashes Means a Charger Error
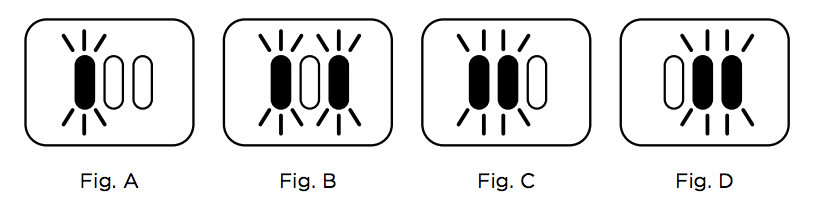
If your vacuum flashes five times when you plug it in, the internal system is telling you to use the included charger. This error can show up even with replacement chargers that look identical. The vacuum detects differences in voltage or connector type and refuses to charge as a safety measure.
🔧 Quick Fix: Unplug the third-party charger immediately and switch to the original Shark charger that came with the device.
No Light at All When Plugged In
A vacuum that shows no indicator light could point to several issues. Try these checks first:
- Test the wall outlet with another device
- Inspect the charger cable for visible damage or fraying
- Clean the charging port and try again
An older unit with no light at all may have a dead battery or internal fault that requires professional service.
Solid Light Means Charging Is Complete
A steady indicator light (usually blue or green) signals that the battery is fully charged. If the light stays solid throughout the entire charging process without changing, check your user manual. Some models use different light patterns to indicate specific status updates.
Troubleshooting a Vacuum That Won’t Charge
Clean the Charging Port Thoroughly
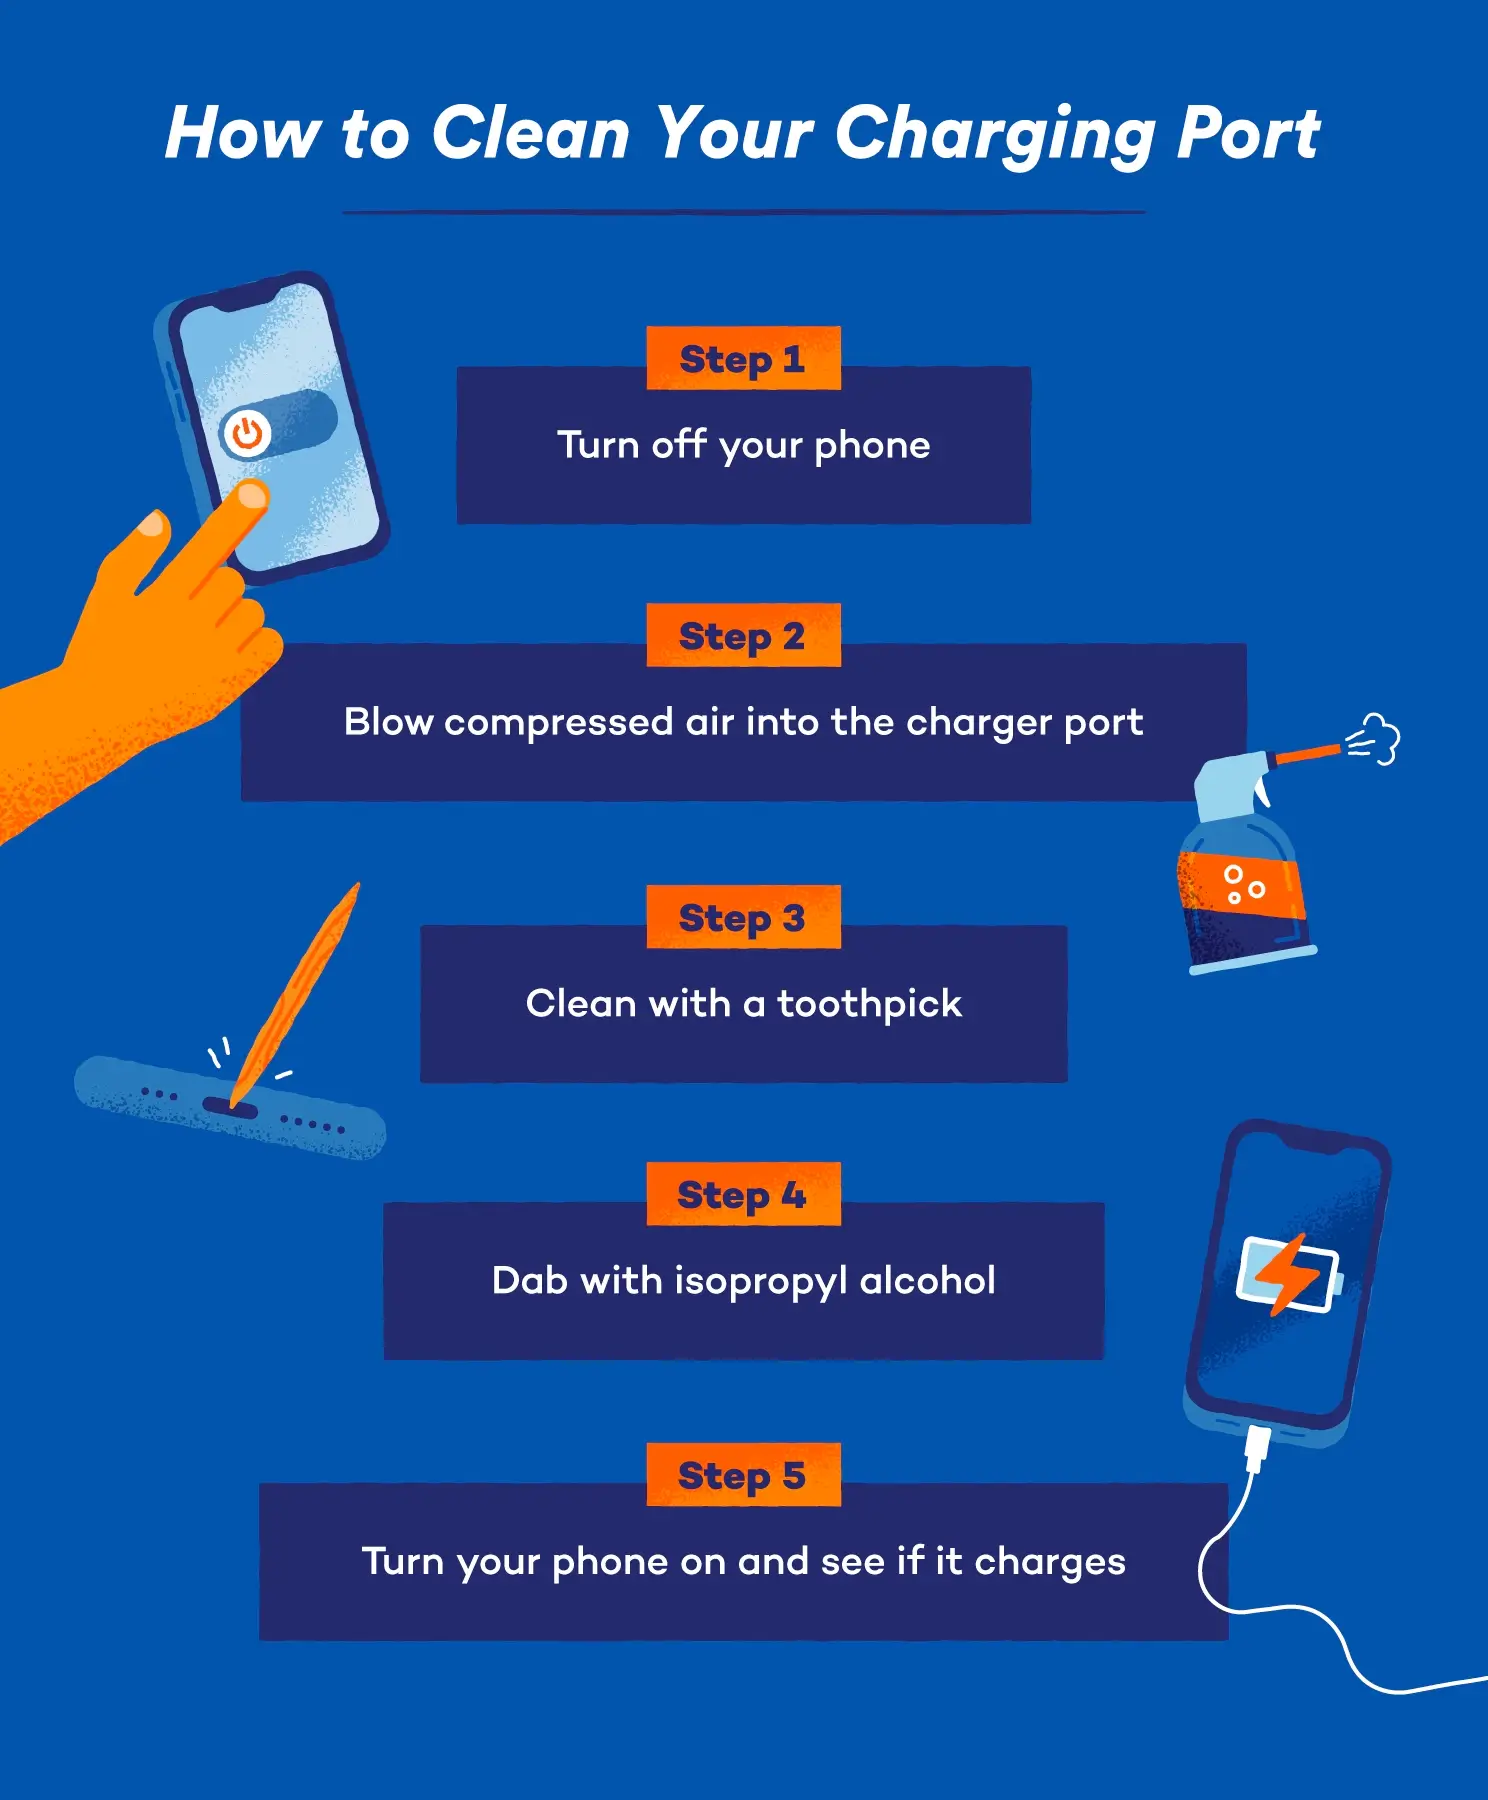
Dust, pet hair, and grime can collect inside the charging port below the handle or on the dock’s metal contacts. Use a dry cotton swab or soft brush to remove debris gently. Avoid using liquids or compressed air, which can push particles deeper into the connection.
✅ Visual Cue: Look for darkened or corroded metal contacts. These need cleaning before the vacuum will charge properly again.
Confirm You’re Using the Correct Charger
Only the Shark-branded charger that shipped with your model is guaranteed to work. Chargers from other Shark vacuums may have different voltage outputs. Check the charger’s label for:
- Input rating of 220–240V (UK standard)
- Output voltage matching your model’s specs (usually 14.4V or 18V)
If you’ve misplaced the original charger, order a replacement directly from Shark rather than from third-party sellers.
Try Resetting the Vacuum
Some charging issues respond well to a basic reset. Follow these steps:
- Unplug the charger from the wall
- Remove the battery if your model allows access
- Wait at least 5 minutes
- Reinsert the battery and reconnect the charger
If your vacuum has a dedicated reset button, press and hold it for 10 seconds before plugging the charger back in.
Test the Outlet and Dock Independently
Plug a lamp or phone charger into the same outlet to confirm power is flowing. For dock users, verify the dock itself is receiving power. If the dock has its own indicator light and it’s off, inspect the dock’s power cable and wall connection for damage.
Model-Specific Problems with the SHARK CH950UKT
Five Flashes Persist Even with a New Charger
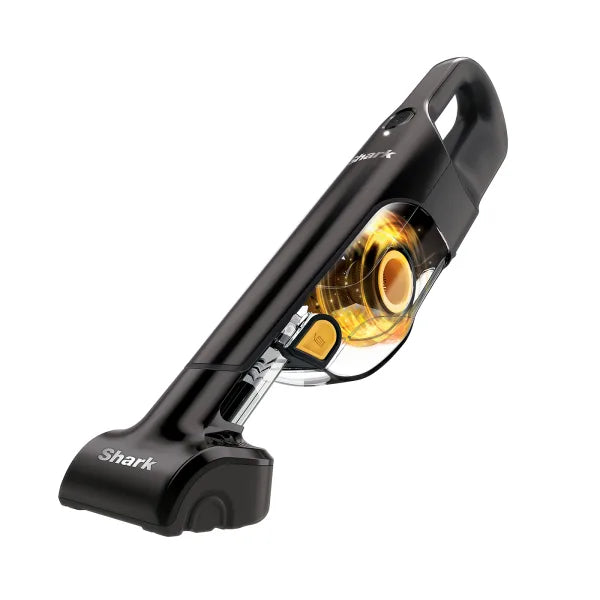
Owners of the SHARK CH950UKT bought from Lakeland in 2022 have reported five-flash errors that continue even after swapping in a brand-new replacement charger. This pattern suggests the issue lies deeper than the charging cable.
❌ Likely Cause: The internal battery or charging circuit may be failing.
Replacement Batteries Are Unavailable
Official replacement batteries for the CH950UKT cannot be purchased at this time. This makes any user-level battery swap impossible, even for technically skilled owners.
🛠️ Important: Do not attempt to open the unit. You could void the warranty or cause additional damage to the device.
Contact Support While Under Warranty
Since the CH950UKT was purchased in 2022, it likely falls within the 2-year manufacturer warranty window. Skip any DIY fixes and reach out for professional help:
- Contact Shark UK Customer Support through the official Shark website
- Describe the five-flash error and charging failure in detail
- Request a repair, replacement, or technician assessment
Have your proof of purchase from Lakeland ready, as it strengthens your warranty claim.
When to Seek Professional Help
Charging Failures That Won’t Go Away
If you’ve worked through the standard troubleshooting steps, including trying the original charger, cleaning all contacts, resetting the device, and testing multiple outlets, and the vacuum still won’t charge or keeps flashing five times, the problem is likely internal. A failed battery or damaged charging circuitry usually requires expert repair.
🚨 Safety First: Never disassemble the unit on your own. Lithium-ion batteries can be hazardous if punctured or mishandled.
Visible Physical Damage or Battery Swelling
Check the battery compartment if your model allows visual inspection. Signs of bulging, overheating, or leaking mean the battery is unsafe to use. Stop charging the device immediately and contact Shark support for guidance.
Use Both Warranty and Retailer Resources
You have two main support channels available:
- Shark Customer Support for warranty service, repairs, or replacements
- Lakeland for return policies or exchange options
Some retailers offer additional help even after the standard warranty period ends.
Best Practices for Long-Term Charging Health
Stick with the Original Charger
Even if your original charger is lost or damaged, always replace it with an official Shark charger. Third-party versions often skip important safety features and can shorten battery life or trigger error codes over time.
Avoid Charging in Extreme Temperatures
Charging your vacuum in direct sunlight, freezing garages, or hot cars can damage the battery. Lithium-ion cells perform best within a temperature range of 10°C to 30°C. Keep your charging area climate-controlled when possible.
Store the Vacuum on the Dock Between Uses
If your model supports dock charging, leave it docked when not in use. This keeps the battery at a healthy charge level and ensures the vacuum is always ready for quick spills.
✅ Myth Buster: Modern Shark vacuums stop drawing power once the battery is full, so leaving it on the dock won’t cause overcharging.
Clean the Charging Contacts Monthly
Use a dry microfiber cloth to wipe down the following once a month:
- The charging port on the vacuum body
- The plug tip of the charger
- The metal contacts on the docking station
This simple maintenance step prevents connection issues and extends the overall life of your device.
Frequently Asked Questions About Charging a Shark Handheld
Why is my Shark handheld vacuum flashing five times?
Five flashes is an error code that means “Use the included charger.” The vacuum detects an incompatible or third-party charger and refuses to charge as a safety measure. Switch to the original Shark charger that came with the device.
How long does it take to fully charge a Shark handheld vacuum?
A full charge from empty typically takes 3 to 4 hours, depending on the model. Avoid unplugging early, as completing a full charge helps maximize battery lifespan and runtime.
Can I use a different Shark charger for my handheld vacuum?
Chargers from other Shark models may have different voltage outputs and could trigger error codes. Always use the charger that originally came with your specific model, or buy an exact replacement from Shark directly.
Where is the charging port on a Shark handheld vacuum?
The charging port is located below the handle on most Shark handheld models. Insert the charger plug firmly into this port until you feel a slight resistance, then watch for the indicator light to confirm charging has started.
What should I do if my Shark handheld still won’t charge after troubleshooting?
If cleaning the port, using the original charger, and resetting the device don’t solve the problem, you likely have an internal battery or circuit failure. Contact Shark Customer Support or your original retailer for warranty service.
Is it safe to leave my Shark handheld on the dock all the time?
Yes, modern Shark vacuums include overcharge protection that stops drawing power when the battery is full. Leaving the vacuum on the dock between uses is actually recommended for maintaining battery health.
Key Takeaways for Charging Your Shark Handheld
Follow the Right Charging Steps Every Time
Getting a reliable charge comes down to a few simple habits. Use the included charger plugged into a working outlet, then connect it to the port below the handle or place the vacuum on its charging dock. Wait for the indicator light to confirm charging, then leave it connected for a full 3 to 4 hours. If you see five flashes, remember that the vacuum is telling you to switch back to the original charger.
Run Through the Troubleshooting Checklist First
Before contacting support, work through this quick checklist to rule out common issues:
- Is the outlet actually delivering power?
- Are you using the original Shark charger?
- Is the charging port free of dust and debris?
- Have you tried resetting the vacuum?
- Is the unit still covered under warranty?
Know When to Call in the Experts
For models like the CH950UKT with unavailable replacement parts, professional support is your best path forward. Reach out to Shark UK Support for warranty claims or to Lakeland for retailer assistance. Avoid disassembling the unit yourself, since lithium-ion batteries can be dangerous and DIY repairs often void the warranty.
Take the Next Step Toward a Reliable Charge
Pick up your Shark handheld right now and inspect the charging port for dust or debris. Grab a dry cloth and give the contacts a quick wipe before your next charge. If problems persist, contact Shark support while your warranty is still active so you can get back to hassle-free cleaning as soon as possible.


