
A cloudy tank and foul-smelling water are signs that debris is piling up beneath the surface. Learning how to use an aquarium vacuum solves both problems in one simple tool, lifting waste from gravel without disrupting your fish or plants. Many beginners avoid vacuuming because they fear it will empty the tank or harm the beneficial bacteria that keep water safe. With the right technique, neither issue occurs, and the process becomes quick and routine.
This guide walks through selecting a vacuum, starting the siphon, cleaning the substrate, controlling water removal, and maintaining your equipment. You will also learn common mistakes to avoid and how to build a cleaning schedule that fits your tank. By the end, you will have a complete method for keeping your aquarium clear and your aquatic life thriving.
Choose the Right Aquarium Vacuum Type
The right vacuum makes cleaning faster and protects your tank inhabitants. Match the tool to your tank size, substrate, and physical comfort.
Gravel Vacuum Siphon Basics
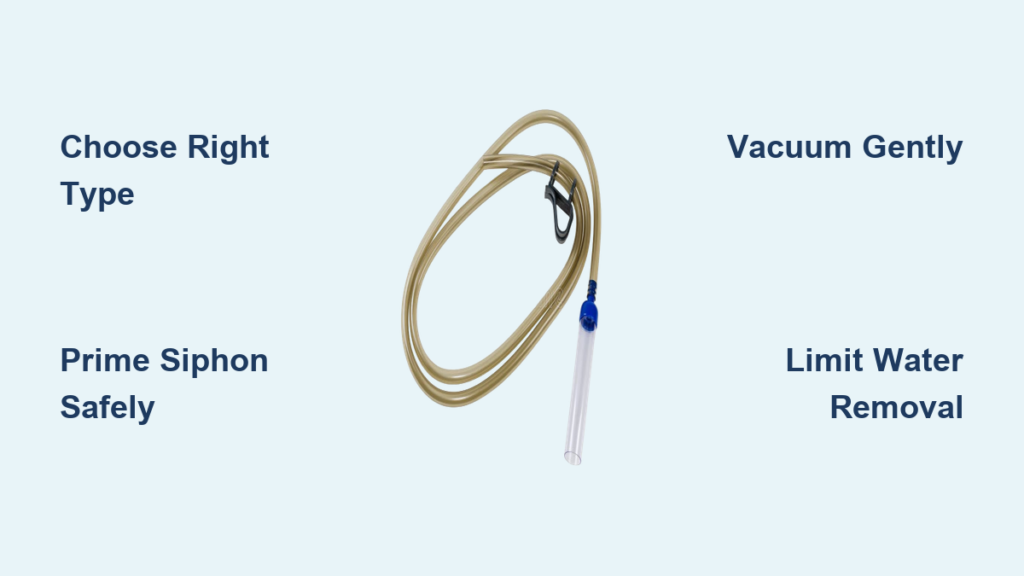
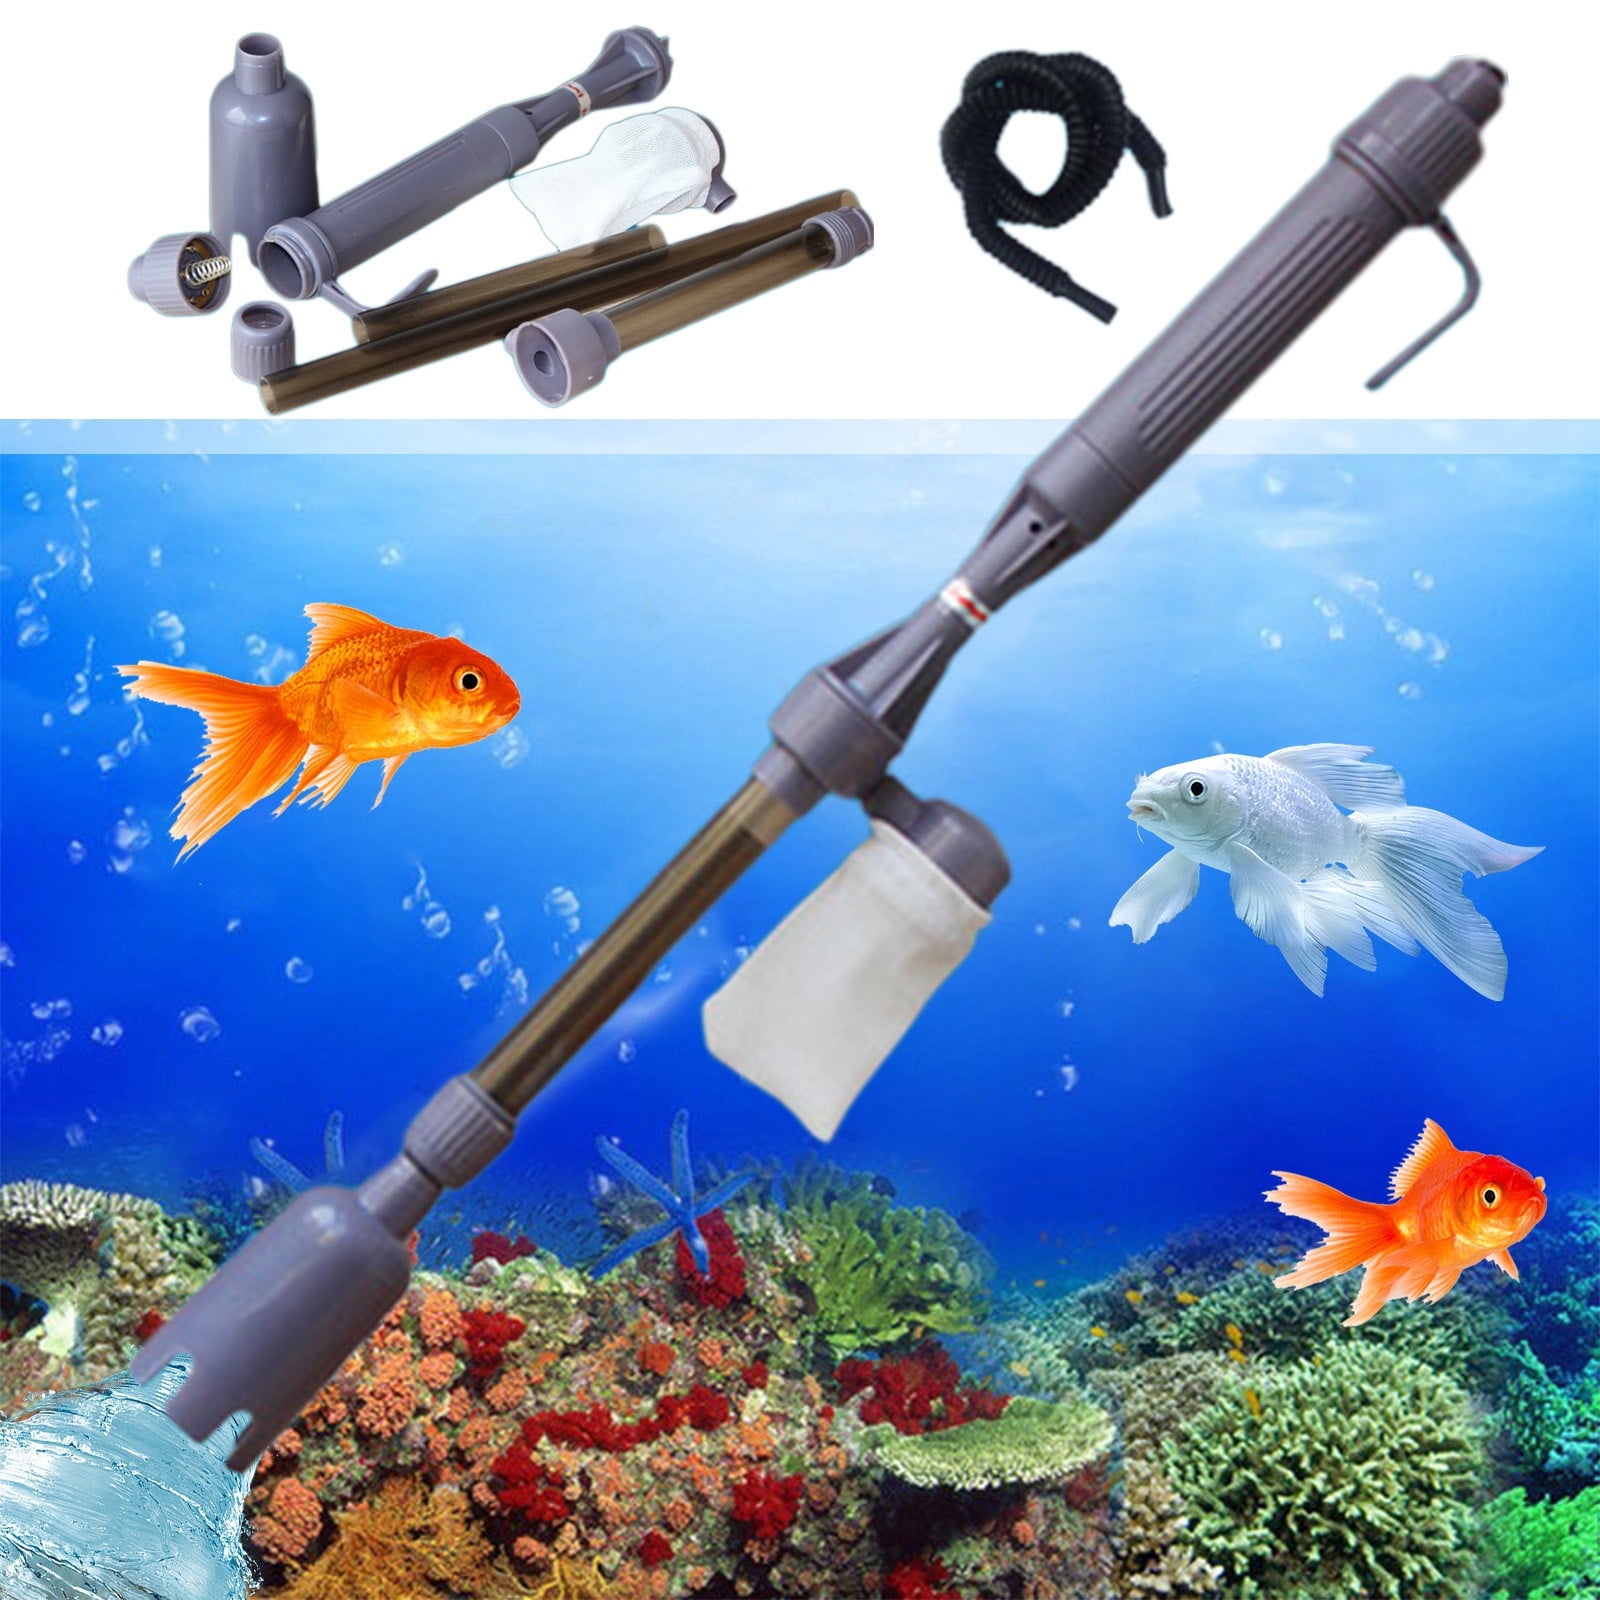
A gravel vacuum siphon uses water displacement to pull debris from the substrate. It typically consists of a wide tube, a smaller hose, and a manual pump or mouth-start mechanism. As water flows out of the tank, it lifts detritus from between gravel pieces while leaving larger substrate behind. These are ideal for freshwater tanks with gravel or sand bottoms.
Battery-Powered vs Manual Models
Manual vacuums rely on siphon physics and require no electricity, just effort to start the flow. They are affordable and reliable but may take longer on large tanks. Battery-powered models automate the siphoning process, turning on with a button press. These save time and reduce physical strain, especially for deep or heavily stocked tanks, though they come at a higher cost and require charging.
Connect to a Bucket System
Always direct the vacuum hose into a clean bucket placed below tank level. This gravity-assisted setup helps initiate and maintain the siphon. Use a bucket large enough to hold at least 25 to 30 percent of your tank volume, which is the typical amount of water removed during cleaning. Position the bucket close to the aquarium to prevent hose kinks.
Start the Siphon Safely and Correctly
A poorly started siphon leads to frustration and wasted time. Use a method that gets water flowing quickly and safely.
Prime the Tube with Water
For manual vacuums, fill the wide tube with tank water before opening the valve. You can use a turkey baster or cup to pour water into the top until it begins flowing through the hose. Once water starts moving, close the valve if your model has one, or place your thumb over the end to control flow. This jumpstarts the siphon effect without any mouth suction.
Avoid Mouth Suction Risks
Never start a siphon by sucking on the hose end, as this can expose you to harmful bacteria or chemicals from tank water. Instead, use a check valve primer or pump attachment designed for safe siphon initiation. Many modern kits include a self-priming bulb or hand pump that eliminates the need for mouth suction entirely.
Confirm Steady Water Flow
Once the siphon starts, release the valve or thumb and let water flow freely into the bucket. Watch for consistent movement. If the flow stops, trapped air may be blocking the line. Lift the vacuum slightly, then plunge it back into the gravel to restart the draw. A steady stream means the vacuum is working properly and ready for substrate cleaning.
Vacuum the Substrate Without Disturbing Fish or Plants
This is where the real cleaning happens. Focus on debris removal while protecting the living elements in your tank.
Insert the Vacuum Into the Gravel
Push the wide end of the vacuum tube into the gravel about halfway. The motion should gently stir the substrate, allowing trapped waste to rise into the tube while heavier particles fall back. Move slowly across the tank floor, covering one section at a time. Avoid jabbing hard or digging too deep, which can uproot plants or damage delicate roots.
Use a Lift and Lower Motion for Deep Cleaning
For thorough cleaning, use a lift and lower motion. Plunge the tube into the gravel, then pull it up slightly. As you lift, the suction pulls floating debris into the tube while the gravel settles back down. Repeat this in overlapping zones until you have covered 70 to 80 percent of the tank bottom. Focus on high-traffic areas where uneaten food tends to accumulate.
Skip Over Delicate Plants
Avoid vacuuming directly around rooted or fragile plants. Strong suction can disturb their root systems, leading to wilting or dislodging. Instead, hover the vacuum just beside the base to catch nearby debris without touching the roots. For planted tanks, consider spot-cleaning only every few weeks rather than full vacuuming sessions.
Control How Much Water You Remove

Removing too much water destabilizes the tank ecosystem and stresses fish. Keep water changes balanced and predictable.
Limit to 25 Percent of Tank Volume Weekly
As a general rule, remove no more than 25 percent of the tank water during a single cleaning session. This keeps beneficial bacteria levels stable and prevents sudden shifts in water chemistry. Mark your bucket with volume lines or use a measuring container to track how much water you extract.
Monitor Tank Level Visually
Keep an eye on the water level in the aquarium as you vacuum. Stop when the water drops to about one inch below the rim or as recommended by your filter system. Over-draining can cause overflow issues when refilling and may stress fish due to reduced swimming space.
Adjust for Heavily Soiled Tanks
If your tank is particularly dirty, split the cleaning into two sessions a few days apart. This allows the biological balance to recover between water changes and reduces stress on aquatic life. Alternatively, perform smaller, more frequent vacuumings of 10 to 15 percent to stay ahead of buildup.
Rinse and Store Your Equipment Properly
Proper maintenance of your vacuum extends its life and prevents contamination in future cleanings.
Flush the Hose with Clean Water
Detach the vacuum from the bucket and run fresh tap water through the hose to clear any leftover debris. Let water flow until it runs clear. For battery-powered units, avoid submerging electrical parts and only rinse the tubing and intake tube.
Store in a Dry Place
Coil the hose neatly and store it away from direct sunlight or extreme temperatures. Moist environments can encourage mold growth inside the tubing, so ensure everything is dry before putting it away. Keep small parts like primers or valves in a sealed bag to prevent loss.
Check for Wear and Tear
Inspect the vacuum for cracks, stiff sections, or loose fittings. Replace damaged components promptly to avoid leaks or failure during future use. For motorized models, verify battery charge and clean the intake screen regularly to maintain performance.
Prevent Common Aquarium Vacuum Mistakes
Small errors during vacuuming can reduce cleaning efficiency or harm the tank. Avoid these frequent pitfalls.
Do Not Vacuum All the Gravel
Over-cleaning removes beneficial bacteria living in the substrate. Stick to partial cleanings and rotate sections weekly so each area gets cleaned once every three to four weeks. This maintains biofilm colonies while still controlling waste buildup.
Avoid Disturbing Filter Bacteria
Never replace filter media and vacuum the substrate on the same day. Doing so can crash the nitrogen cycle by removing too many helpful microbes at once. Space these tasks out by at least a week to protect water quality.
Never Use Soap on Equipment
Rinsing vacuum parts with soap leaves toxic residues that can harm fish. Always use only lukewarm water for cleaning. If disinfection is needed, soak parts in a 10 percent bleach solution for 10 minutes, then rinse thoroughly and air-dry before reuse.
Build a Consistent Aquarium Cleaning Schedule
Consistency keeps your tank healthy long-term and makes maintenance feel effortless.
Set a Weekly Vacuum Routine
Plan to vacuum your tank once a week during partial water changes. This frequency prevents waste accumulation and keeps water parameters stable. Use a calendar reminder or pair cleaning with feeding to build a habit.
Track Water Parameter Trends
After each cleaning, test ammonia, nitrite, and nitrate levels to ensure your vacuuming routine is effective. Declining nitrates indicate successful waste removal. Rising ammonia could mean overfeeding or insufficient cleaning, so adjust your schedule accordingly.
Adapt the Schedule for Your Tank Type
Heavily stocked tanks or those with messy eaters like goldfish may need vacuuming up to twice weekly. Planted tanks with low bioloads can go two weeks between cleanings. Tailor your schedule to your specific aquarium’s needs and stocking level.
Frequently Asked Questions About Using an Aquarium Vacuum
How often should I vacuum my aquarium gravel?
Vacuum your aquarium gravel once a week during a partial water change. For lightly stocked or planted tanks, every two weeks is enough. Heavily stocked tanks with messy fish may need vacuuming twice a week to keep waste under control.
Can I use an aquarium vacuum on sand substrate?
Yes, but use a gentle technique. Hover the vacuum just above the sand surface instead of plunging it in. This removes debris without sucking up the fine sand particles. A wider intake tube works best for sand substrates.
Is it safe to vacuum gravel with fish in the tank?
Yes, it is safe as long as you move slowly and avoid startling the fish. Keep the vacuum away from fish resting on the bottom and work in sections so they have space to retreat. Most fish learn to ignore the routine quickly.
How do I start a siphon without mouth suction?
Use a self-priming bulb, hand pump, or check valve attachment included with many modern kits. You can also fill the tube with tank water using a cup or turkey baster to initiate flow without any mouth contact.
What percentage of water should I remove when vacuuming?
Remove no more than 25 percent of the tank water during a single cleaning session. This amount keeps beneficial bacteria and water chemistry stable. For dirtier tanks, split cleanings into two smaller sessions a few days apart.
Can I leave the aquarium vacuum in the tank between cleanings?
No, do not leave the vacuum in the tank. Residual water in the tube can grow bacteria or mold, and the siphon can restart unexpectedly. Always drain, rinse, and store the vacuum in a dry place after each use.
Final Thoughts on Using an Aquarium Vacuum
Mastering how to use an aquarium vacuum transforms tank maintenance from a dreaded chore into a quick, satisfying task. The three most important habits are choosing the right vacuum for your setup, limiting water removal to 25 percent per session, and rotating which sections of gravel you clean to protect beneficial bacteria. Together, these steps keep your water clear, your fish healthy, and your routine efficient.
Start by vacuuming one section of your tank this week and observe how much debris you actually remove. You will likely be surprised by how much waste sits beneath the surface, and your fish will thank you for the cleaner environment.


