

A tangled, debris-filled brush roll can make your vacuum lose suction, squeal loudly, or stop spinning entirely. If your cleaner leaves debris behind or the roller has gone silent, hair and fibers are likely wrapped too tightly around it. The good news is that cleaning a vacuum brush roll is a quick, beginner-friendly task that takes about 15 minutes. In this guide, you will learn exactly how to safely remove, clean, and reinstall the brush roll on a BISSELL CleanView® Bagless vacuum for like-new performance.
Safety Precautions Before You Start
Unplug the Vacuum First
Always turn off and unplug your vacuum from the electrical outlet before touching any internal parts. This single step prevents accidental startup and eliminates the risk of electric shock or hand injury while you work.
Prepare a Stable Work Surface
Place the vacuum upside down on a flat, non-slip surface such as a clean floor or workbench. A stable base keeps the unit from tipping while you handle screws, the brush roll, or the belt.
Remove the Brush Roll Cover
Locate and Unscrew the Fasteners
Flip your vacuum so the bottom faces upward. Locate the screws on the underside of the brush roll cover. Most BISSELL CleanView® Bagless models use standard Phillips-head screws. Remove each screw with a Phillips screwdriver and set them aside in a small dish so they do not get lost.
Lift the Cover Off
Once all screws are removed, gently lift the brush roll cover straight off the housing. Some models have small alignment tabs or clips, so avoid prying or forcing it. Removing the cover exposes both the brush roll and the drive belt for inspection.
Inspect the Brush Roll and Belt
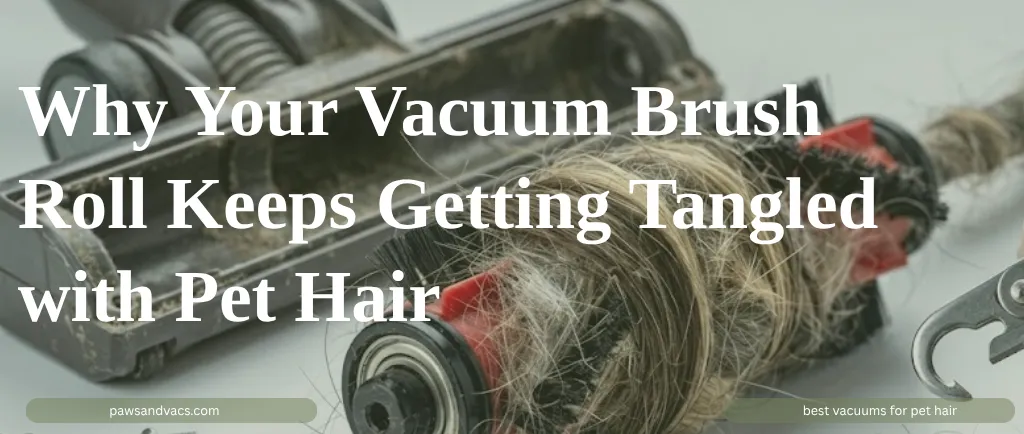
Check the Brush Roll for Damage
Rotate the brush roll by hand and look for:
– Hair or fibers wrapped tightly around the ends
– Debris packed between the bristles
– Cracks, chips, or missing bristles
– Bending or warping of the roller shaft
If the brush roll is cracked or visibly worn, plan to replace it.
Examine the Belt Condition
The belt is what spins the brush roll. During inspection, watch for:
– Cracks or fraying along the surface
– Stretching or looseness around the motor shaft
– Misalignment that prevents proper contact
A worn or broken belt will keep the brush roll from spinning, even after a thorough cleaning.
Clean the Brush Roll Thoroughly
Cut Away Tangled Hair and Debris
Use scissors or a small cutting tool to snip through hair, thread, and carpet fibers wrapped around the roller. Work slowly and keep the blade flat against the roller to avoid cutting the belt underneath or damaging the bristles.
Pro Tip: Slide the scissor tip under the strands and lift before cutting. This protects the belt and prevents accidental nicks in the plastic housing.
Rotate to Access All Sides
Turn the brush roll by hand as you work to expose every section. Continue cutting and pulling debris until the roller spins completely freely with no resistance or buildup at either end or in the center.
Reinstall the Cover and Secure the Screws

Align the Cover Properly
Before reinserting any screws, confirm the brush roll cover sits flush with the vacuum housing. Misalignment can pinch the belt or prevent the soleplate from sealing tightly against the floor.
Replace and Tighten the Screws
Insert each Phillips screw into its original hole and tighten until snug. Do not over-tighten, as this can strip the plastic threads. The cover should sit evenly with no visible gaps or tilting.
Test the Vacuum After Cleaning
Power On and Observe
Plug the vacuum back into the outlet and switch it on. If your model has a soleplate window, watch the brush roll as it starts up.
Confirm Smooth Operation
A properly cleaned brush roll should:
– Begin spinning within a few seconds
– Run quietly with no grinding or squealing
– Rotate evenly without wobbling or hesitation
If the brush roll does not spin, recheck the belt alignment and inspect for any leftover debris you may have missed.
When to Clean the Brush Roll
Warning Signs to Watch For
Do not wait for complete failure. Clean the brush roll whenever you notice:
– Reduced pickup on carpets or hard floors
– Visible hair wrapped around the roller ends
– The brush roll not spinning even though the motor runs
– Unusual thumping, squeaking, or grinding noises
Recommended Cleaning Frequency
The source material does not specify a fixed schedule, but inspecting every 1 to 3 months is a smart baseline. Households with pets or family members with long hair should inspect monthly, especially during heavy shedding seasons.
Vacuuming Habits That Protect the Brush Roll
Dust Before You Vacuum
Wipe down ceiling fans, shelves, and furniture with a microfiber cloth before running the vacuum. Removing dust at the source prevents it from settling on floors and getting tangled in the brush roll.
Use Attachments for Edges and Corners
Switch to the crevice tool or upholstery nozzle for baseboards, corners, and tight spaces. This reduces the workload on the main brush roll and keeps edges clean where the roller cannot reach.
Common Mistakes to Avoid

Using Sharp or Heavy-Duty Tools
Avoid utility knives or box cutters when cutting debris. They can easily slice the belt or score the plastic housing. Stick with standard scissors or a small seam ripper.
Skipping the Belt Check
A clean brush roll will not spin if the belt is broken or stretched. Always inspect the belt during every cleaning session.
Forcing the Cover During Reassembly
If the cover refuses to sit flat, do not press harder or tap it into place. Stop and check for a misaligned belt, an obstruction, or a forgotten screw.
Model Compatibility and Support
Designed for BISSELL CleanView® Bagless
The step-by-step procedure in this guide applies directly to the BISSELL CleanView® Bagless model. Similar steps can be used for related models, including the CleanView® Rewind and PowerClean® Vacuum.
Always verify your specific model number in the user manual before starting. For model-specific videos, diagrams, and replacement parts, visit support.bissell.com.
Frequently Asked Questions About Cleaning a Vacuum Brush Roll
How do I know if my vacuum brush roll needs cleaning?
Common signs include reduced suction, hair visibly wrapped around the roller, the brush not spinning while the motor runs, or unusual squeaking and thumping noises during use.
Can I clean a vacuum brush roll without removing it?
You can pull loose hair off the surface, but a deep clean requires removing the cover to access tangled debris around the ends and underneath the bristles.
What tools do I need to clean a vacuum brush roll?
You only need a Phillips screwdriver to remove the cover and a pair of scissors or a small cutting tool to snip through tangled hair and threads.
How often should I clean my vacuum brush roll?
The source material does not give a fixed interval. A practical guideline is to inspect every 1 to 3 months, or monthly if you have pets or family members with long hair.
Will a damaged belt stop the brush roll from spinning?
Yes. A cracked, stretched, or broken belt cannot drive the brush roll, even if the brush roll itself is completely clean. Always inspect the belt during every cleaning.
Is it safe to use water to clean a vacuum brush roll?
The manufacturer instructions provided do not mention wet cleaning. To stay within the recommended procedure, stick with dry cutting and pulling methods to avoid moisture damage to the belt or motor.
Key Takeaways for a Cleaner, Longer-Lasting Vacuum
Cleaning your vacuum brush roll is one of the simplest ways to restore suction, reduce noise, and prevent costly repairs. Always unplug the unit first, work on a stable surface, and inspect both the brush roll and the belt during every cleaning. Cut debris carefully with scissors, rotate the roller to reach all sides, and confirm smooth operation before putting the vacuum back to work. For model-specific diagrams, replacement parts, and troubleshooting videos, visit the official BISSELL support site at support.bissell.com.


