
Is your Bissell vacuum losing suction or kicking up dust? A full or improperly installed bag is often the culprit. Learning how to change a Bissell vacuum bag takes less than five minutes and restores your machine’s cleaning power immediately. Whether you own a PowerForce®, PowerLifter™ Pet, or upright Model 3522-1, the process follows a simple pattern: unplug, open the compartment, swap the bag, and close it securely. This guide walks you through each model’s specific steps, explains when to replace bags, and helps you avoid common mistakes that reduce performance.
Safety First: Power Down and Unplug
Before touching any part of your vacuum, safety comes first. All Bissell bagged models require the same critical first step.
Turn Off and Unplug
Always turn off the vacuum and unplug it from the outlet before opening the bag compartment. This prevents accidental startup and protects you from electrical hazards. Never attempt to remove or insert a bag while the vacuum is plugged in, even if it’s switched off.
Handle Full Bags Carefully
When removing a used bag, hold it close to the vacuum to avoid spilling dust and debris. A full bag can burst or tear if pulled too quickly, especially if it’s packed with pet hair or fine dust. Slow, controlled removal keeps your cleaning area clean and reduces mess.
PowerForce® Bagged: Quick Bag Replacement
The PowerForce® series is designed for straightforward access and reliable performance. Knowing where and how to open the compartment makes the job faster.
Locate the Bag Compartment
On most PowerForce® models, the bag compartment is on the back or side of the unit. Look for a latch or release button, which is your access point. It’s usually labeled or marked with a vacuum bag icon.
Open and Replace the Bag
Press the latch and swing open the door. Inside, you’ll see the used bag attached to a bag holder. Gently pull it out, holding it close to avoid spills. Take your genuine PowerForce® replacement bag and align it with the holder. Push it in firmly until it clicks into place. This click confirms a secure, airtight seal.
Close and Resume Cleaning
Snap the compartment door shut and ensure the latch clicks. If the door doesn’t close smoothly, double-check that the bag is fully seated. Once secure, plug in the vacuum and turn it on. You should immediately notice restored suction power.
When to Replace the Bag
Don’t wait until the bag is completely full. Replace it when it’s about ¾ full to maintain strong suction. After deep-cleaning sessions, especially on carpets with pet hair or fine debris, check the bag even if it’s not quite full.
PowerLifter™ Pet: Rear Cover Access

The PowerLifter™ Pet Bagged vacuum is built for homes with pets, but the bag replacement process is just as simple.
Open the Rear Cover
After turning off and unplugging the vacuum, locate the rear cover. This panel opens to reveal the bag compartment. Press or lift the cover as designed. Some models require a firm pull, others a gentle flip.
Remove and Insert the Bag
Grab the full bag by its handle and pull it straight out. Be cautious, as pet hair and dander can make bags heavier and more prone to spillage. Insert the new genuine PowerLifter™ Pet replacement bag into the compartment. Slide it in until it clicks or snaps securely into place. Make sure it’s fully seated to prevent air leaks.
Lock the Cover
Close the rear cover firmly. It should lock into place with an audible click. If it doesn’t close completely, recheck the bag alignment. A loose cover can reduce suction and allow dust to escape.
Pro Tip: Use Genuine Bags Only
Aftermarket bags may seem cheaper, but they often don’t fit as tightly or filter as well. Genuine Bissell bags are engineered to match the airflow and sealing mechanism of your model, ensuring long-term performance and better allergen control.
Model 3522-1: Upright Canister Access
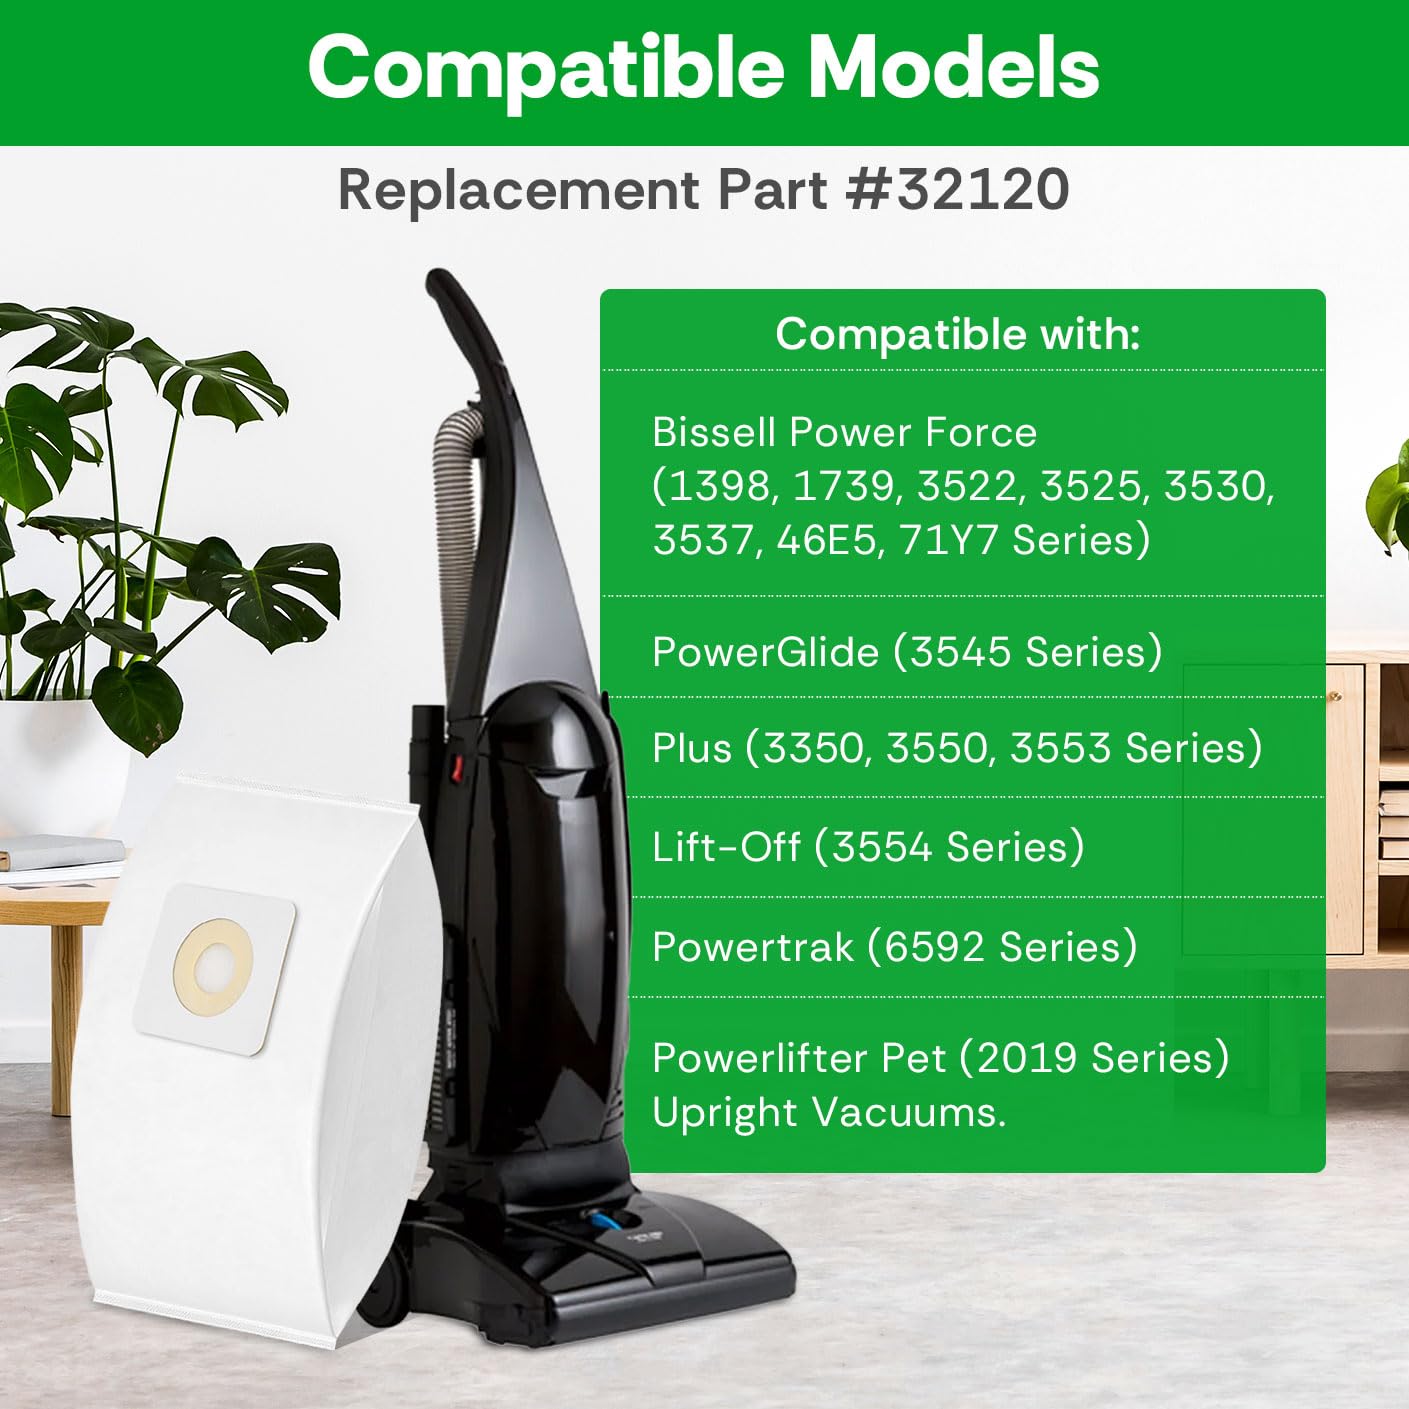
The Bissell 3522-1 is an upright bagged vacuum that uses a canister-style compartment, which may open differently depending on your specific unit.
Find the Release Mechanism
Look for a latch, lever, or flip mechanism on the front or side of the vacuum. On some 3522-1 models, you may need to lift the entire top section or flip open a panel near the base or handle. If you’re unsure, refer to your user manual or visit support.bissell.com for diagrams.
Open and Clean the Canister
Once open, carefully remove the old bag. It may be held in place by a plastic or metal bracket, so disconnect it gently. After removal, wipe out the interior of the canister with a dry cloth to remove any residual dust. This prevents clogs and keeps airflow efficient.
Install the New #7 Bag
The 3522-1 uses size number 7 bags, so make sure you have the correct size. Insert the new bag so the open end aligns perfectly with the inlet port. Push it in until it snaps or clicks securely. Proper alignment is critical. A misaligned bag won’t seal and will cause suction loss.
Close and Test
Gently close the canister compartment. Ensure the latch clicks and the cover sits flush with no wobble. Plug in the vacuum and turn it on. Listen for normal operation and check that the bag inflates slightly. This confirms it’s sealed and working.
Troubleshooting: Bag Falls Out or Won’t Seal
If the bag keeps falling out, it’s likely not fully inserted or misaligned. Reopen and reseat it carefully. If the canister won’t close, the bag might be blocking the latch. If problems persist, contact Bissell customer service. They can provide model-specific diagrams or video instructions.
Universal Replacement Tips
While models differ slightly, some best practices apply to all Bissell bagged vacuums.
Use the Right Bag Size
Always use the correct replacement bag:
– Model 3522-1: Size number 7
– PowerForce®: Genuine PowerForce® bag
– PowerLifter™ Pet: Genuine PowerLifter™ Pet bag
Using the wrong size or generic brand can lead to poor suction, leaks, or damage to the motor over time.
Check Alignment and Seal
No matter the model, the bag must be:
– Fully seated on the inlet
– Properly aligned with the holder
– Snapped or clicked into place
An unsealed bag is the most common cause of suction loss after replacement.
How Often to Replace the Bag
Frequency depends on use, but follow these guidelines:
Replace Before Full
- PowerForce®: Change at ¾ full
- PowerLifter™ Pet: Replace before completely full
- General Rule: Check after every deep clean or weekly use
A full bag restricts airflow, forcing the motor to work harder and reducing cleaning efficiency.
Signs You Need a New Bag
- Reduced suction power
- Dust blowing from exhaust
- Vacuum turns off unexpectedly (overheating from clogged airflow)
- Bag appears swollen or stretched
Post-Replacement Check
After installing a new bag, always verify it’s working.
Test for Proper Operation
Plug in the vacuum and turn it on. Listen for normal sound, with no unusual whistling or strain. The bag should inflate slightly, showing it’s sealed and drawing air correctly.
Inspect for Leaks
Run the vacuum over a light-colored floor. If you see dust escaping around the seams or from the exhaust, the bag may not be sealed or the compartment isn’t closed tightly.
Support and Resources
If you’re stuck, Bissell offers excellent support.
Video Tutorials
Watch the official PowerLifter™ Pet bag replacement video at:
For Model 3522-1, contact customer service to request step-by-step video instructions or diagrams.
Customer Service
Visit support.bissell.com for:
– Model-specific guides
– Troubleshooting help
– Genuine bag ordering
– Assembly and filter cleaning tips
They also offer a 6-question feedback survey for PowerLifter™ Pet users to improve support resources.
Final Tips for Long-Term Performance
Keep your Bissell vacuum running like new with these habits:
Clean the Filter Regularly
Even with a fresh bag, a clogged filter reduces suction. Clean or replace the filter every 1 to 3 months, depending on use. Instructions are available for PowerForce® and PowerLifter™ Pet models.
Inspect the Compartment
Before each bag change, quickly check the compartment for debris, pet hair, or damage. A clean inlet ensures a proper seal.
Store Bags Properly
Keep spare bags in a dry place. Moisture can weaken the bag material or promote mold, especially in humid environments.
Frequently Asked Questions About Changing Bissell Vacuum Bags
How do I know which Bissell vacuum bag fits my model?
Check your user manual or look for the bag size printed near the bag compartment. The Model 3522-1 uses size number 7 bags. For PowerForce® and PowerLifter™ Pet models, use the genuine replacement bags designed for each series to ensure proper fit and performance.
Can I use aftermarket bags in my Bissell vacuum?
You can, but it’s not recommended. Aftermarket bags often don’t fit as tightly or filter as well as genuine Bissell bags. Poorly fitting bags can cause suction loss, dust leaks, and may even damage the motor over time.
Why does my Bissell vacuum lose suction after changing the bag?
The most common cause is an improperly seated bag. Make sure the bag is fully inserted and clicks into place. Also verify that the compartment door or cover is closed securely and the latch is engaged.
How often should I change the bag in my Bissell vacuum?
Replace the bag when it’s about ¾ full for PowerForce® models, and before it becomes completely full for PowerLifter™ Pet models. Check the bag after heavy cleaning sessions, especially when vacuuming pet hair or fine dust.
What should I do if the bag keeps falling out of my Bissell 3522-1?
First, check that the bag is properly aligned and fully inserted into the inlet port. If it still falls out, contact Bissell customer service. They can provide model-specific diagrams and step-by-step video instructions.
Is there a video showing how to change a Bissell PowerLifter™ Pet bag?
Key Takeaways for Changing Your Bissell Vacuum Bag
Changing a Bissell vacuum bag takes less than 5 minutes but makes a big difference in cleaning power. Whether you have a PowerForce®, PowerLifter™ Pet, or Model 3522-1, following the correct steps ensures a secure fit, strong suction, and longer motor life.
Always unplug the vacuum before opening the compartment. Use genuine Bissell bags in the correct size for your model. Replace the bag before it’s completely full to maintain optimal airflow. After installation, test the vacuum to confirm the bag is sealed properly.
Make bag checks part of your regular cleaning routine. A quick inspection after each deep clean prevents performance issues and keeps your home healthier. If you run into trouble, Bissell’s support resources, including videos and customer service, are there to help you keep your vacuum running at its best.


