
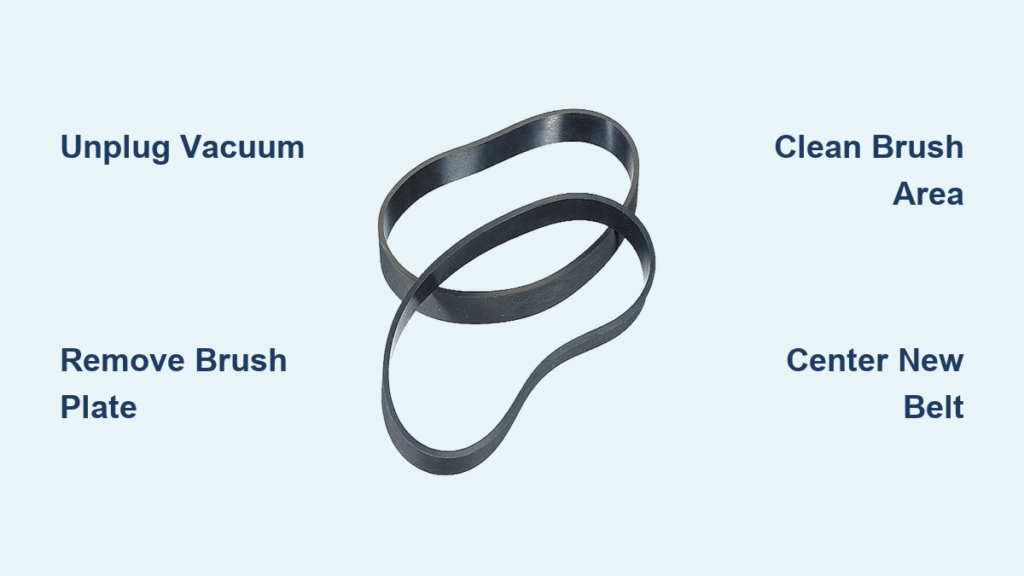
You’re pushing your Bissell across the carpet, but instead of lifting dirt, the vacuum is just smearing debris around. The brush won’t spin, and you notice a faint burning smell or an odd whining noise. These are textbook signs that your vacuum belt has snapped or stretched beyond use. A faulty belt stops the brushroll from turning, which cripples your vacuum on carpeted surfaces. The good news? Replacing a Bissell vacuum belt is a fast, inexpensive repair that most homeowners can finish in under 20 minutes.
This guide covers every step needed to safely swap out a drive belt on Bissell PowerForce®, PowerGroom®, and Compact upright models. With a Phillips screwdriver and a pair of scissors, you can restore full cleaning power without calling a technician. Below, you’ll find detailed instructions, model-specific tips, and answers to the most common questions.
Prepare the Vacuum for Maintenance
Safety always comes first when working on any appliance. Begin by unplugging the vacuum from the wall outlet. A vacuum that remains plugged in could accidentally turn on during repairs, creating a risk of electric shock or hand injury. Once the cord is disconnected, recline the handle all the way back until the vacuum lies flat on the floor.
Next, flip the vacuum upside down and set it on a clean, flat surface. Position the unit so the bottom plate faces directly upward, giving you clear access to the screws and internal components. Choose a well-lit workspace so you can easily see small parts like the brushroll ends and belt.
Remove the Six Brush Plate Screws

The brush plate covers the brushroll and belt assembly on the bottom of the vacuum. On PowerForce® and PowerGroom® models, this plate is held in place by six Phillips head screws. Use your screwdriver to remove each screw one at a time, turning counterclockwise.
Place the screws in a small dish or on a folded towel so they don’t roll off your work surface. Lost screws are a common frustration during this repair. Once all six are out, gently lift the brush plate straight up. A slight wiggle may be needed if the plate sits snug against the housing.
If the plate refuses to budge, stop and double-check that every screw has been fully removed. Forcing the plate off risks cracking the plastic housing or bending the retaining clips.
Lift Out the Brushroll
With the brush plate removed, the rotating floor brush is now fully exposed. Grasp the brushroll firmly at both ends using your thumb and forefinger. Lifting with even pressure on both sides prevents the shaft from bending or damaging the bearings inside the housing slots.
Pull the brushroll straight up and out of the vacuum. Do not twist, angle, or rock it during removal, as this can score the housing or warp the brush ends. Once free, slide the old drive belt off the brushroll and set the belt aside for disposal.
Take a moment to inspect the brushroll while it’s out. If the bristles look flattened, frayed, or worn short, consider replacing the brush at the same time. Also spin the brushroll by hand to confirm the bearings spin freely without grinding.
Clear Hair and Debris From the Brush Area

Hair, thread, and carpet fibers are the number one cause of premature belt failure. These materials wrap tightly around the brush ends and motor pulley, creating drag that stretches and snaps belts long before they should wear out.
Use a pair of scissors to carefully cut away any tangled fibers wrapped around the brush shaft or ends. Pull the loosened debris off completely. Next, wipe down the motor pulley, which is the small metal post where the belt attaches inside the vacuum body.
A clean pulley ensures the new belt grips properly without slipping. Skipping this step is one of the most common reasons a brand-new belt fails within weeks of installation.
Install the New Bissell Drive Belt
Take your replacement Bissell belt and confirm it matches your specific model. Using the wrong size belt leads to poor performance and rapid wear. Loop one end of the belt over the motor pulley first. You may need to stretch it slightly to slide it into place.
Next, stretch the opposite end of the belt over the brushroll. Position the belt in the groove between the bristles, not over the top of them. Placing the belt on the bristles causes misalignment and shreds the rubber within minutes.
Once the belt is looped correctly, lower the brushroll back into the vacuum housing. Insert both ends of the brush into their designated slots. The brush should sit level and parallel to the floor.
Verify Belt Alignment

After the brushroll is seated, rotate it by hand three to four full turns. This action seats the belt onto both the pulley and the roller. As you turn the brush, watch the belt carefully. It should track smoothly in the center of the brushroll without drifting to either side.
If the belt wanders to one end, gently nudge the brushroll to recenter it, then rotate again. A properly centered belt ensures even tension and extends the lifespan of your repair. Misalignment creates noise, vibration, and uneven wear.
Reattach the Brush Plate
Align the brush plate back over the base of the vacuum. Make sure it sits flush with no gaps or raised edges. Insert each of the six screws into their original holes and tighten them clockwise with your Phillips screwdriver.
Tighten the screws until snug, but avoid overtightening. Excessive force can strip the plastic threads in the housing, making future repairs difficult. Confirm every screw is fully seated and the plate is secure before flipping the vacuum upright.
A loose brush plate can vibrate off during use, potentially damaging the belt or brushroll mid-cleaning.
Test the Vacuum and Check the Brushroll
Stand the vacuum back up, plug it in, and power it on. Tilt the vacuum back into the cleaning position and look at the bottom of the unit. The brushroll should spin quickly and quietly.
Listen for any squeaking, slapping, or grinding sounds. Unusual noises often mean the belt is twisted, misaligned, or sitting on top of the bristles instead of between them. If the brushroll refuses to spin, shut off the vacuum immediately and recheck the belt installation.
Frequently Asked Questions About Changing a Bissell Vacuum Belt
How do I know if my Bissell vacuum belt is broken?
A broken or stretched belt usually causes the brushroll to stop spinning while the vacuum still has suction. You may also notice a burning rubber smell, a high-pitched whine, or visible debris being pushed rather than picked up.
How often should I replace a Bissell vacuum belt?
Most Bissell belts last between 6 and 12 months under normal household use. Homes with pets or high carpet traffic may need replacement every 3 to 6 months. Inspect the belt any time you notice a drop in cleaning performance or a change in vacuum sound.
Do all Bissell upright vacuums use the same belt?
No, belt compatibility varies by model. PowerForce®, PowerGroom®, and Compact models often use different belt sizes. Always check your user manual or the Bissell support site to confirm the correct replacement part before purchasing.
Can I use a generic replacement belt instead of a Bissell brand belt?
Aftermarket belts are available, but OEM Bissell belts typically last longer and fit more precisely. Generic belts may stretch faster, slip on the pulley, or fail to seat properly in the brush groove.
What should I do if the new belt keeps slipping off?
A slipping belt usually points to debris on the motor pulley or a stretched, low-quality replacement. Clean the pulley thoroughly and confirm you installed a genuine Bissell belt. If slipping continues, the motor shaft itself may be worn.
Where can I find a video tutorial for this repair?
Bissell hosts an official step-by-step video on YouTube that walks through the entire belt replacement process. Watching it before starting can help you visualize each step and avoid common mistakes.
Final Takeaways for a Successful Bissell Belt Replacement
Changing a Bissell vacuum belt is one of the simplest and most cost-effective repairs you can perform at home. The entire process requires only a Phillips screwdriver, a pair of scissors, and about 15 to 20 minutes of your time. Unplugging the vacuum, cleaning the brush area thoroughly, and centering the new belt on the brushroll are the three steps that determine whether your repair lasts months or fails within days.
For the best long-term results, inspect the belt every few months, keep the brushroll free of hair, and stick with genuine Bissell replacement parts. If you run into trouble or your vacuum is still under warranty, visit support.bissell.com for model-specific troubleshooting and customer service options.


