
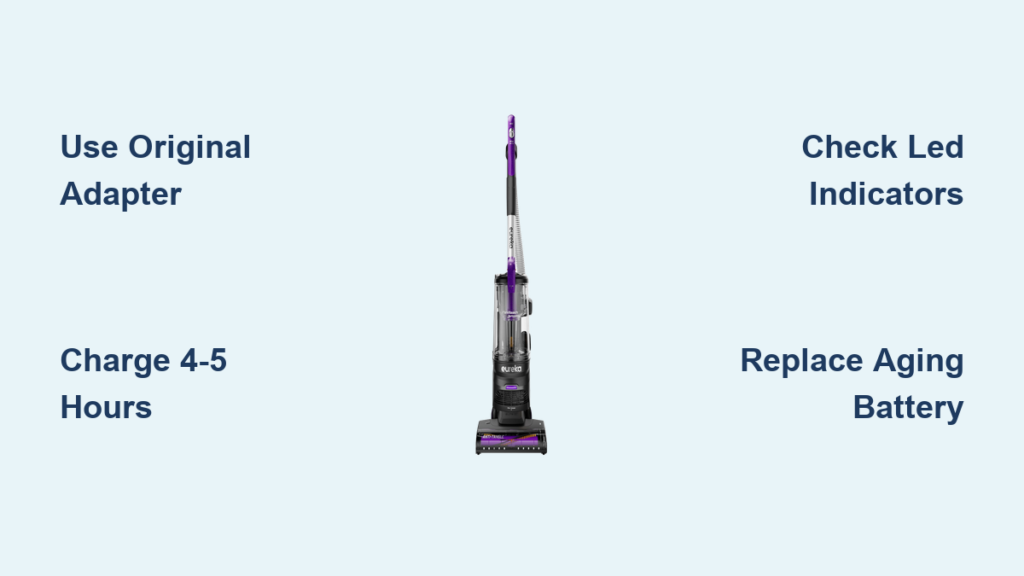
If your Eureka vacuum won’t power on or dies mid-cleaning, the problem often traces back to how it’s being charged. Skipping the first full charge, using the wrong adapter, or charging in extreme temperatures can all shorten battery life. Learning how to charge a Eureka vacuum properly protects your investment and keeps suction strong from start to finish.
This guide covers everything from first-time charging and LED indicators to error codes, battery swaps, and safe disposal. You’ll get step-by-step instructions for both in-unit and separate battery charging, plus tips for extending battery life and knowing when to call support.
Set Up the First Charge Correctly
Charge Before the First Use
Your Eureka vacuum ships with a partial charge, which isn’t enough to unlock full performance. Always complete a full charge before the first cleaning session.
- Plug the Eureka power adapter into a working wall outlet.
- Connect the adapter to the charging port on the vacuum.
- Confirm the LED indicator lights up to show charging has begun.
- Let it run for 4–5 hours without interruption.
Pro Tip: Never run the vacuum while it’s charging. Doing so can disrupt the cycle and degrade the battery over time.
Once charging is complete, unplug by gripping the adapter head, not the cord. Store the adapter in a dry spot until the next use.
Read the LED Charging Indicators
The LED display tells you exactly where the battery stands. Here’s what each signal means:
- Flashing light: Battery is low or actively charging.
- Solid light: Charging in progress.
- Light turns off (separate battery): Fully charged.
If the LED doesn’t change after 6 hours, the adapter, battery, or charging port may be faulty. Test another outlet or adapter before assuming the battery is dead.
Safe Charging Checklist:
– Use only the manufacturer-specified adapter.
– Keep the room between 40°F and 104°F.
– Charge on a hard, flat surface away from heat sources.
– Keep the charging port clean and dry.
Charge the Battery Outside the Vacuum
Remove and Reinstall the Battery Pack

Some Eureka models let you pop out the battery and charge it on its own. This setup is great for users who want a spare ready to go.
- Flip the vacuum upside down and locate the battery compartment at the base.
- Press the release button or slide the latch near the battery edge.
- Gently pull the battery free.
- To reinstall, align the battery and push until you hear a click.
Visual Cue: On the NEC101, a small button near the battery edge serves as the release. If it won’t budge, check for a hidden screw or cover panel underneath.
Direct Battery Charging Steps
Once the battery is out of the unit:
- Plug the adapter into the battery’s charging port.
- Watch for the blue charging indicator to flash.
- When charging finishes, the blue light will shut off.
Warning: Only use the original Eureka adapter. Third-party chargers can trigger error codes, damage cells, or create safety hazards.
Keeping a second battery on the charger lets you swap and clean without waiting.
Clear Charging Error Codes
Fix Error Code E4
An “E4” reading means the vacuum has detected a charging error, almost always caused by the wrong adapter.
Common causes:
– Wrong adapter model
– Damaged cord or plug
– Incorrect voltage output
How to resolve it:
1. Confirm the adapter matches Eureka specs (models CZH015300050USWQ or QX15WG300050U, output 30V, 5000mA).
2. Inspect the cord and plug for visible damage.
3. Try a different wall outlet.
4. Call Eureka at 1-800-282-2886 if the error persists.
Using the wrong adapter can permanently damage the battery and void the warranty.
Understand the 5x Flashing Light
When charging the battery separately, a 5-times-per-second flash means the same thing as E4: wrong adapter.
What to do:
– Unplug the charger immediately.
– Double-check the adapter model number.
– Swap in a known-good adapter if you have one.
– Reach out to Eureka support if you’re unsure.
Never ignore warning lights. They’re early signals that prevent expensive damage.
Diagnose a Vacuum That Won’t Charge
Find the Root Cause
If the vacuum shows zero signs of life, work through these likely culprits:
- Loose or corroded battery terminals: Remove the battery and clean the contacts with a dry cloth.
- Defective battery pack: Borrow a working battery to test if available.
- Internal circuit failure: No lights or response usually means professional repair.
Expert Tip: Vacuums under one year old may qualify for the 12-month battery warranty. Contact Eureka before opening the unit to keep coverage intact.
Access the Battery on the NEC101
The NEC101 battery isn’t always obvious. Follow these steps for safe removal:
- Lay the vacuum flat on its side.
- Locate the latch or button on the bottom of the stick.
- Press or slide it while gently pulling the battery out.
- If it sticks, look for a screw or plastic cover that needs removing first.
Safety First: Always power off and unplug before inspection. If the battery doesn’t click back into place, it won’t charge properly.
Match the Charger to Your Model
Adapter Specs for the NEC370GR
Using the right adapter isn’t optional. The NEC370GR requires specific output to charge safely.
| Parameter | Value |
|---|---|
| Adapter Model | CZH015300050USWQ / QX15WG300050U |
| Input | 100V–240V, 50/60Hz |
| Output | 30V, 5000mA |
The wide input range means this adapter works worldwide, but you’ll still need a plug that fits your region.
Follow Charger Safety Rules
These habits prevent accidents and extend equipment life:
- Replace damaged cords or adapters immediately.
- Grip the plug head when unplugging, never the cord.
- Keep hands dry when handling the charger.
- Charge on hard surfaces, never on bedding or rugs.
- Keep the cord away from the vacuum’s path.
Fire Risk Alert: Charging outside the 40°F–104°F range or with a non-Eureka adapter increases fire risk. Stay within the safe temperature window.
Spot the Signs of an Aging Battery
Know When to Replace the Battery
Lithium-ion batteries wear out over time. Watch for these warning signs:
- Charging takes longer than 5–6 hours.
- Runtime drops to just a few minutes after a full charge.
- The battery feels swollen or unusually hot while charging.
- Error codes like E2 or E4 appear repeatedly.
A typical Eureka battery lasts 1–3 years with regular use. Since batteries are consumables, they’re only covered under the first 12 months. Once performance drops, order a replacement HD006 battery pack directly from Eureka.
Swap in a New Battery

- Buy an OEM Eureka battery to avoid compatibility issues.
- Remove the old battery using the release latch.
- Slide the new battery in until it clicks.
- Charge fully before the first use.
Pro Tip: Rotate two batteries to keep cleaning sessions uninterrupted.
Handle Batteries Safely
Prevent Damage and Accidents
Lithium-ion cells store serious energy, so handle them with care:
- Use only Eureka-approved batteries and chargers.
- Keep batteries away from coins, keys, and paper clips to prevent shorts.
- Never expose batteries to fire or temperatures above 130°C (266°F).
- Don’t open, puncture, or modify the battery casing.
- Store at room temperature when not in use.
Emergency Response: If battery liquid leaks, flush with water right away. If it contacts your eyes, seek medical help immediately. Avoid inhaling any fumes.
Stop Accidental Starts
Always confirm the power switch is off before:
– Inserting or removing the battery
– Picking up or carrying the vacuum
– Storing the unit
An accidental start can cause injury or property damage.
Dispose of Old Batteries Responsibly
Recycle Instead of Trashing
When the battery reaches end-of-life, follow these steps:
- Remove the battery from the vacuum.
- Never throw it in household trash.
- Drop it off at a battery recycling center or e-waste facility.
Environmental Note: Many retailers like Best Buy offer free battery recycling. Improper disposal leaks toxic chemicals into soil and water.
Never incinerate or crush old batteries. The reaction can cause fires or explosions.
Use Your Warranty Coverage
Understand What’s Covered
Eureka backs its products with two key warranties:
- 12-month limited battery warranty
- 24-month limited vacuum warranty
Both cover defects in materials and workmanship under normal household use. Eureka will repair or replace the unit at its discretion, though refunds aren’t offered.
What’s not covered:
– Damage from drops, misuse, or water
– Aftermarket parts or unauthorized modifications
– DIY repair attempts
File a Warranty Claim
- Call 1-800-282-2886 or email support@eureka.com.
- Provide proof of purchase (receipt or order confirmation).
- Share the model, type, and serial number from the rating plate.
- Ship the unit if requested (you cover initial shipping).
Warning: Opening the unit or using non-Eureka parts can void the warranty. Always go through official channels first.
If the vacuum is out of warranty, compare repair costs to the price of a new model before deciding.
Solve Everyday Charging Problems
Improve Short Runtime
If the vacuum dies minutes after charging, check these common causes:
- Battery not fully charged: Recharge for the full 4–5 hours.
- Aging battery: Replace with an OEM HD006 pack.
- Clogged filters or full dust cup: Clean all components monthly.
A clogged system forces the motor to work harder, draining the battery faster.
Decode Error Codes E2 and E3
- E2 (Battery Cell Damage): Internal failure. Contact Eureka support immediately—don’t try to repair it yourself.
- E3 (Motor Overcurrent): Usually caused by moisture or motor aging. Never vacuum liquids, and let the unit dry fully before use. Persistent issues need professional service.
Recover from Overheating Shut-Offs
If the vacuum stops mid-cleaning, it may have triggered thermal protection.
Steps to recover:
1. Empty the dust cup.
2. Clean the filter and check for blockages.
3. Let the vacuum cool for at least 30 minutes.
4. Press the power button to restart.
If it still won’t turn on, call Eureka support for help.
Frequently Asked Questions About Charging a Eureka Vacuum
How long does a Eureka vacuum take to fully charge?
Most Eureka cordless vacuums need 4–5 hours for a complete charge under normal conditions. Charging longer than 6 hours usually signals a problem with the adapter, battery, or port.
Can I use my Eureka vacuum while it’s charging?
No. Running the vacuum during charging disrupts the cycle and shortens battery life over time. Always wait until the full charge cycle finishes before cleaning.
What does the flashing light on my Eureka vacuum mean?
A flashing LED typically means the battery is low or actively charging. If the light flashes 5 times per second while the battery is charging separately, you’re using the wrong adapter and need to switch to the original Eureka model.
What charger does a Eureka NEC370GR use?
The NEC370GR requires an adapter with model number CZH015300050USWQ or QX15WG300050U, rated at 30V and 5000mA output. Using a different adapter can trigger error codes or damage the battery.
How do I know when my Eureka battery needs replacing?
Common signs include charging times over 5–6 hours, runtime dropping to a few minutes, a swollen or hot battery, and frequent error codes. Eureka batteries typically last 1–3 years with regular use.
Where can I recycle my old Eureka vacuum battery?
Take old batteries to a certified battery recycling center or e-waste facility. Retailers like Best Buy also accept lithium-ion batteries for free. Never throw them in household trash or incinerate them.
Key Takeaways for Charging Your Eureka Vacuum
Charging a Eureka vacuum correctly comes down to three habits. First, always use the original adapter rated for your specific model, and charge within the 40°F–104°F range. Second, give the battery a full 4–5 hour charge before first use and avoid running the vacuum mid-charge. Third, watch for warning signs like error codes, swelling, or shortened runtime, and replace aging batteries promptly with OEM parts.
If you run into persistent issues or error codes you can’t clear, reach out to Eureka support at 1-800-282-2886 or visit www.eureka.com. Proper charging keeps your vacuum running strong and extends its lifespan for years of reliable cleaning.


