
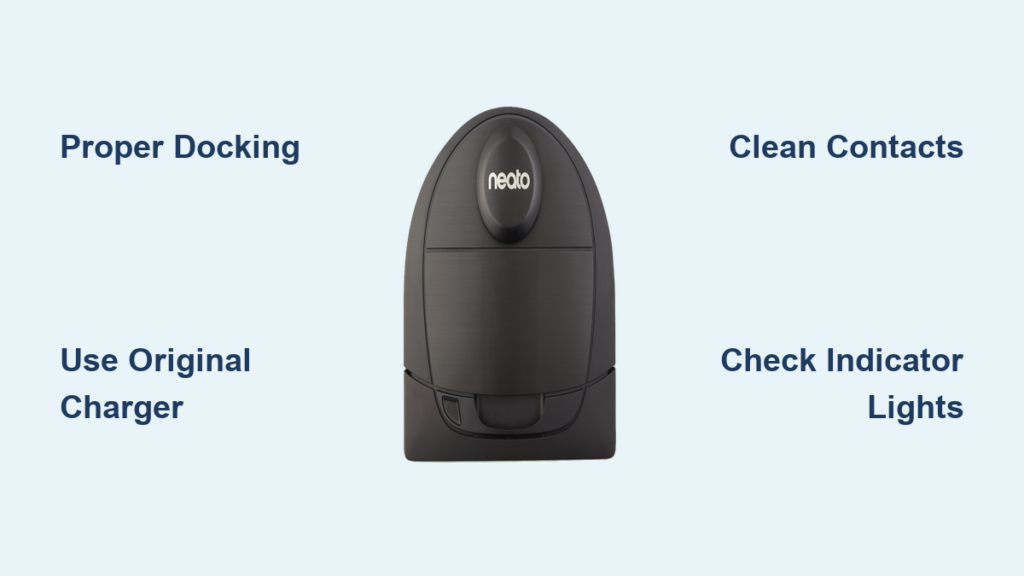
You just finished a cleaning run with your Neato robot vacuum, and now it sits idle on the floor waiting for power. But what happens when it refuses to charge or loses power mid-cycle? Learning how to charge a Neato vacuum the right way keeps your robot ready for daily use and prevents frustrating interruptions. Whether you are unboxing a new unit or fixing an existing one, proper charging habits make a noticeable difference in performance.
Charging problems rank among the most common complaints from Neato owners. A robot that will not charge means missed cleaning sessions and declining battery health over time. The good news is that most charging issues have simple solutions once you understand the dock, the power source, and the indicator lights. This guide walks you through the entire process so your Neato stays powered and reliable for every cleaning job.
Proper Docking Procedure

Correct docking is the foundation of consistent charging. The robot must align with the base to create a stable electrical connection.
Position the Home Base Correctly
Place the charging dock flat against a wall with at least 1.5 feet of open space on both sides. Keep it away from stairs, clutter, mirrors, or shiny surfaces that can confuse the navigation system. The metal charging prongs on the base need a clear line of sight to the contacts on the robot.
Align the Robot Automatically
Most Neato models return to the dock on their own after cleaning. If the robot struggles to find it, press the “Home” button on the unit or in the mobile app. Watch as the robot backs into the station to confirm proper alignment.
Verify the Physical Connection
Once docked, gently push the robot forward until you feel or hear a soft click. This confirms the charging pads are touching the base terminals. If the robot sits too far forward or sits at an angle, charging will not begin.
Power Source Requirements
The right power supply keeps your Neato safe and ensures consistent charging performance.
Use the Included Power Adapter
Always charge your Neato with the original AC power adapter that shipped in the box. It delivers the correct voltage your battery needs. Third-party adapters may not match these specifications and can damage the battery or create a safety hazard.
Plug Into a Working Wall Outlet
Connect the charging base to a wall outlet you trust. Avoid using power strips, surge protectors, or extension cords whenever possible, since these can reduce power delivery. If charging fails, test the outlet with another device to confirm it works.
Check the Cable and Adapter Condition
Inspect the power cord and adapter for visible damage such as fraying, kinks, or burn marks. Replace any damaged components right away. Make sure all connections between the adapter, base, and outlet are snug and secure.
Charging Indicator Lights

Neato robots use LED lights to communicate charging status at a glance. Learning what each pattern means helps you confirm the system is working.
Solid Green Light (Fully Charged)
A solid green light means the battery is at full capacity. This usually appears after 2 to 4 hours of charging, depending on your model and how empty the battery was.
Pulsing Amber or Yellow Light (Actively Charging)
When the robot sits on the dock and draws power, the light pulses amber or yellow. This signals normal charging and means the battery is filling up as expected.
Flashing Red or No Light (Charging Problem)
A flashing red light or a completely dark display points to a charging failure. Common causes include dirty contacts, a dead outlet, or a worn-out battery. Use the troubleshooting steps below to diagnose the issue.
Troubleshooting Charging Issues
Even with perfect setup, your Neato may sometimes refuse to charge. These steps help you find and fix the problem quickly.
Clean the Charging Contacts
Dust, pet hair, and debris often coat the metal contacts on both the robot and the dock. Power off the robot, then wipe the contacts with a dry or slightly damp cloth. Allow them to dry fully before placing the robot back on the dock.
Reset the Robot
A soft reset clears minor software glitches. Turn the robot off using the power switch, wait about 10 seconds, then power it back on. Redock the unit and check whether the charging light appears.
Test Battery Health
Lithium-ion batteries lose capacity over time. If your Neato charges for only a few minutes or shuts down quickly during cleaning, the battery may need replacement. Units older than 2 to 3 years with declining runtime are prime candidates for a new battery.
Manually Initiate Charging
If the robot does not start charging on its own, press the “Start” or “Home” button to trigger the charging cycle. Some Neato models require manual input even when properly docked.
Charging Time and Battery Life
Knowing how long charging takes and how to extend battery life helps you plan cleanings and avoid surprises.
Average Charge Duration
Most Neato models take 2 to 4 hours to charge from empty. The exact time depends on the model, battery age, and remaining charge. Once full, the robot stops pulling power, so leaving it on the dock is safe.
Runtime Per Charge
A fully charged Neato runs for 60 to 120 minutes, depending on the model and cleaning mode. Eco mode stretches runtime, while turbo mode shortens it. Schedule cleanings to match your home size and avoid mid-job shutdowns.
Maximize Battery Longevity
Avoid letting the robot sit completely drained for long periods. If you plan to store it, charge to about 50% and power it off. Regular use and consistent charging cycles help preserve long-term battery health.
Prevent Common Charging Mistakes
Most charging problems come from simple oversights. Avoiding these errors keeps your Neato running smoothly.
Do Not Use Damaged Docks
A cracked or bent charging base can misalign the robot or expose live electrical parts. Replace a damaged dock immediately to prevent safety hazards and charging failures.
Never Force the Robot Onto the Dock
Pushing the robot too hard onto the base can bend the charging pins or damage the sensors. If docking fails, clean the area, check the alignment, or send the robot home through the app.
Avoid Frequent Short Charges
Occasional top-offs are fine, but constant partial charges can reduce overall battery efficiency. Aim for full charge cycles whenever possible to keep the battery in good shape.
When to Replace the Battery

Every Neato battery eventually wears out. Recognizing the warning signs helps you act before total failure.
Signs of a Failing Battery
- Charging takes much longer than usual
- The robot loses power within minutes of starting
- The unit shuts off unexpectedly mid-cleaning
- The battery will not hold a charge overnight
Purchase an OEM Replacement
Buy only genuine Neato replacement batteries designed for your specific model. Aftermarket options may not fit correctly or meet safety standards. Most batteries are user-replaceable in just a few minutes.
Follow Safe Disposal Practices
Take old lithium-ion batteries to an approved recycling center. Do not throw them in household trash because of the fire risk and environmental impact.
Frequently Asked Questions About Charging a Neato Vacuum
How long does it take to fully charge a Neato vacuum?
Most Neato models take between 2 and 4 hours to charge from empty. The exact time depends on the model, battery age, and how much charge was left before docking.
Can I leave my Neato on the charging dock all the time?
Yes. Once the battery reaches full charge, the robot stops drawing power. Leaving it docked between cleanings is safe and keeps it ready for the next run.
Why is my Neato not charging even when docked?
Common causes include dirty charging contacts, a loose power connection, a damaged cable, or a worn-out battery. Clean the contacts, test the outlet, and inspect the cable before considering a battery replacement.
What does a flashing red light on my Neato mean?
A flashing red light signals a charging error. It often points to poor contact between the robot and the dock, a power supply issue, or a battery problem that needs attention.
Do I need to use the original Neato charger?
Yes. The original adapter delivers the correct voltage for your specific model. Third-party chargers may not meet safety standards and can damage the battery over time.
How do I know when my Neato battery needs replacement?
If the robot charges slowly, loses power within minutes, or will not hold a charge overnight, the battery is likely near the end of its life. Units older than 2 to 3 years with these symptoms usually need a new battery.
Key Takeaways for Charging Your Neato Robot
Charging your Neato vacuum correctly comes down to three core habits: dock it properly, use the right power supply, and watch the indicator lights. Always place the base against a flat wall with open space on both sides, and confirm the robot clicks into place on the charging contacts. Use only the original adapter and a reliable wall outlet to avoid power delivery issues.
Pay attention to what the LED lights tell you. A solid green light means full charge, pulsing amber means charging in progress, and flashing red means something needs your attention. Clean the contacts regularly, reset the robot when needed, and replace the battery once it shows clear signs of wear.
Your next step is simple. Check your charging setup right now. Confirm the base position, inspect the contacts, and make sure the original adapter is plugged into a working outlet. A quick five-minute check today prevents frustrating charging problems and keeps your Neato ready to clean whenever you need it.


