

A vacuum motor clogged with dust, hair, and debris can lose suction, overheat, or fail years before it should. While most owners focus on filters and brush rolls, internal motor buildup quietly destroys performance over time. Learning how to clean a vacuum motor correctly can restore power and extend the life of your machine.
This guide covers safe, step-by-step methods used by experienced technicians, including the tools, lubricants, and mistakes to avoid. You will learn when cleaning makes sense, when to leave the motor alone, and how to spot warning signs that call for replacement instead.
Pre-Cleaning Safety Steps for Vacuum Motors
Unplug and Discharge the Vacuum Completely
Always disconnect the vacuum from power before opening the housing. Even cordless models store electrical charge in internal circuits, so remove the battery or let it fully discharge. This prevents accidental startup, short circuits, or electric shock during cleaning.
Work in a Ventilated Space With Protective Gear
Solvents like electrical cleaner or MEK release strong fumes that can irritate your lungs. Work outdoors when possible, or open windows and use a fan. Wear gloves and eye protection to keep chemicals off your skin and out of your eyes.
Keep Water Away From Motor Components
Never soak or submerge a vacuum motor. Brief contact with soapy water is acceptable on the armature or field coil, but full immersion can corrode windings, damage brushes, or short electrical connections. Allow every cleaned part to dry completely, ideally overnight, before reassembly.
Identify Your Motor Type Before Cleaning

Sleeve Bearings vs. Ball Bearings
Sleeve bearings require light oil and appear in older or budget vacuums. Ball bearings use grease and appear in higher-end models. Using the wrong lubricant causes overheating and premature failure, so confirm your bearing type before applying anything.
Serviceable vs. Sealed Bearings
Many modern motors use sealed bearings with no access points. If your motor housing has no oil ports or grease fittings, assume it is sealed. Do not pry these open; doing so destroys the bearing and voids any chance of repair.
Sintered Bronze Bushings
These porous bronze components look like dark cups and feel textured. They hold oil inside their metal structure. A bone-dry bushing cannot be revived with a quick oil drop; it needs hydraulic or vacuum-assisted re-oiling to restore lubrication deep within the metal.
Disassemble the Vacuum Without Damage
Remove Panels and the Dustbin
Start by removing outer panels and the dustbin using the correct screwdrivers. Many modern vacuums use proprietary screws, so keep them organized in labeled containers. Take high-resolution photos at every step to guide reassembly later.
Locate the Motor Housing
The motor usually sits near the fan and suction path. In uprights, it is often behind the hose inlet. In stick vacuums like the Shark IONFlex 2X, it sits inside the main body. Consult your model’s service guide for exact disassembly steps, and never force components apart.
Leave a Working Motor Alone
If your vacuum runs quietly and pulls strongly, do not open the motor. Experienced technicians warn that tearing down a functional motor often creates reassembly mistakes. Clean only when performance drops, noise increases, or the motor overheats.
Clean the Motor Components Safely

Blow Out Dust With Compressed Air
Use short bursts of compressed air to clear dust from motor vents, fan blades, and shaft openings. Hold the can upright to prevent moisture from spraying onto the motor. Never spin the fan at high speed with air, as this can unbalance the blades.
Wipe the Motor Casing With a Soft Cloth
Use a dry microfiber cloth or soft brush on the motor exterior. For stubborn grime, lightly dampen the cloth with isopropyl alcohol. Avoid spraying liquid directly onto the motor, especially near electrical connections or the commutator.
Clean the Armature and Field Coil
Spray automotive electrical cleaner on the armature and field coil to remove grime. Soapy water also works, but every part must dry completely before reinstallation. Never use harsh solvents like acetone, which can degrade the insulation on windings.
Polish the Commutator With a Contra-Rotary Stone
The commutator is a copper ring on the armature shaft. If it looks blackened or pitted, polish it with a contra-rotary stone while spinning the armature slowly by hand or in a drill collet. Blow away all dust afterward. Do not use regular sandpaper, as it leaves grit that damages brushes.
Lubricate the Correct Bearings With the Right Product
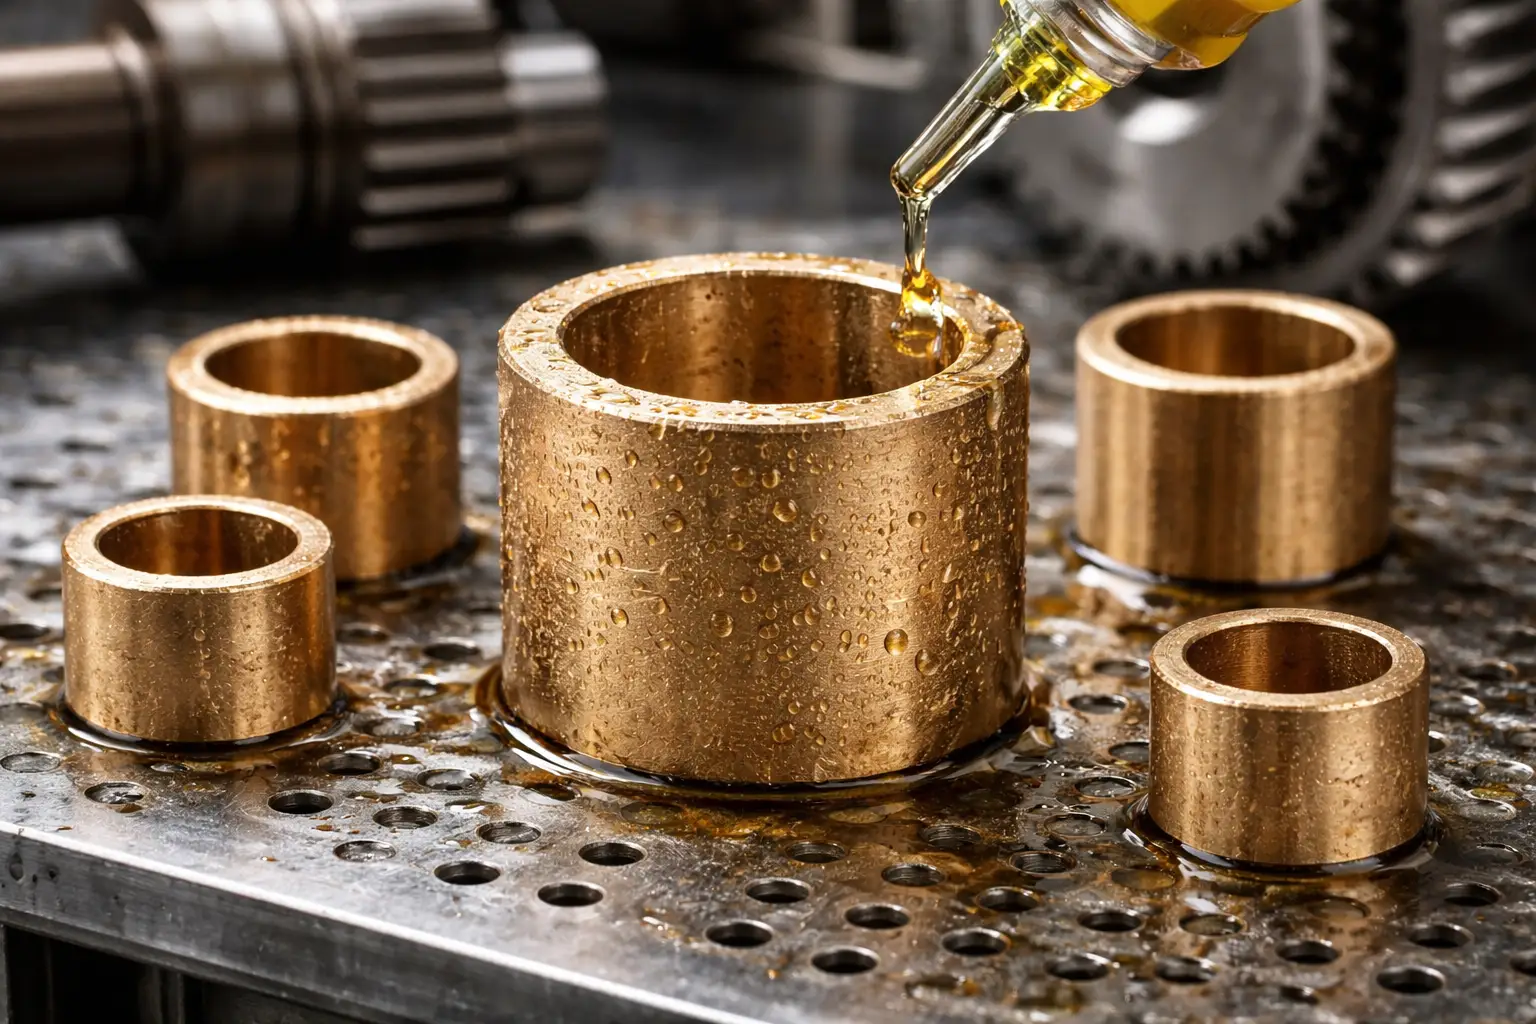
Oil Sleeve Bearings and Sintered Bronze Bushings
Apply a few drops of light machine oil to sleeve bearings or sintered bronze bushings. If the bearing has a felt ring, keep it moist but not soaked. Excess oil attracts dust and creates noise, so less is more.
Grease Ball Bearings Sparingly
Ball bearings need a small amount of silicone-based or electric motor grease applied only to the bearing surface. Never let grease touch the windings or commutator. For sealed ball bearings, skip lubrication entirely; adding grease can damage seals.
Re-Oil Dry Sintered Bronze Bushings Properly
A completely dry sintered bushing cannot absorb oil through simple dripping. Use the hydraulic method by forcing oil through the bushing from the inside with your fingers until it bleeds out. For deeper saturation, submerge the bushing in oil inside a vacuum chamber and let the pump pull air out over several hours.
Replace Worn Parts Before Reassembly

Inspect Carbon Brushes for Wear
Carbon brushes wear down with use. Replace any that are shorter than 1/4 inch, cracked, or chipped. Handle brush holders gently, as they are fragile and can break easily during removal.
Check Fan Blades for Balance
Spin the fan by hand. It should rotate smoothly without wobble. Bent or unbalanced blades cause vibration, noise, and bearing stress. Replace severely damaged fans to protect the motor long-term.
Test the Shaft for Excessive Play
Grip the motor shaft and wiggle it side to side. Any noticeable movement means the bushings are worn. A loose shaft causes misalignment, friction, and eventual motor failure, so replace the bushings before continuing.
Reassemble the Vacuum Motor With Care
Follow Your Photo Guide
Use the photos you captured during disassembly to place every screw, wire, and spacer correctly. Misaligned wiring or missing components can cause shorts or mechanical binding. Confirm that all connectors are fully seated before closing the housing.
Confirm Complete Drying Before Powering On
Moisture trapped in the field coil can cause a short circuit. If you are unsure whether parts are dry, leave the motor in a warm, dry place overnight before testing.
Power On and Listen for Problems
Reconnect the battery or plug in the vacuum, then turn it on. A healthy motor runs smoothly with no grinding, screeching, or buzzing. If unusual sounds continue after cleaning and lubrication, the motor may need replacement.
Common Mistakes That Destroy Vacuum Motors
Mixing Components From Different Motors
Never pair an armature from one motor with a field coil from another. Production changes within the same brand can make parts incompatible. Mismatched components can cause complete motor meltdown within seconds.
Removing Soldered Parts From the Field Coil
Some field coils have soldered jumpers or resistors added by the manufacturer. Removing these parts, even if they look unnecessary, can disable the motor. If you are unsure what a component does, leave it in place.
Lubricating Sealed Motors
Many modern vacuums use sealed motors with lifetime lubrication. Adding oil or grease to a sealed motor damages seals and attracts dirt. When in doubt, check your model’s manual before applying any lubricant.
Know When to Replace the Motor Instead
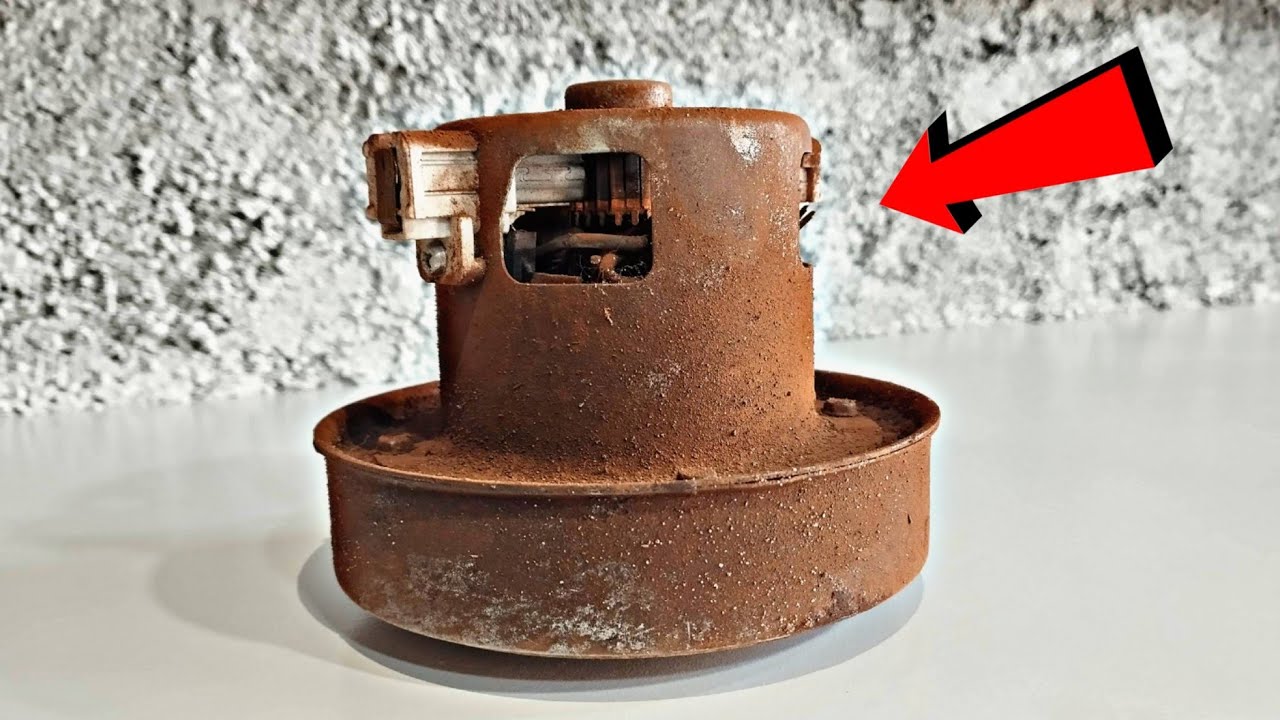
Persistent Noise After Cleaning
Grinding or whining sounds that remain after cleaning and lubrication usually indicate damaged bearings or a warped armature. Replacement is safer than risking further damage or fire.
Burning Smell or Smoke
A burnt odor with smoke or discoloration means internal insulation has failed. This damage is irreversible. Stop using the vacuum immediately and replace the motor.
No Power After Reassembly
If the motor does not run after reassembly, check wiring and brushes first. If those components are fine, the issue may be a shorted coil or damaged commutator. Rewinding such motors is rarely cost-effective, so replacement is usually the best option.
Expert Tips for Long-Term Vacuum Motor Care
Practice on Old Shop Vacs First
Beginners should start with inexpensive, simple machines like old Shop Vacs. These motors are easy to access and forgiving to mistakes, making them ideal training units.
Find a Mentor in the Repair Community
An experienced mentor, sometimes called an “Elmer” in repair circles, can save you months of trial and error. Many technicians offer guidance through video calls, forums, or local repair shops.
Invest in the Right Tools
A contra-rotary stone, compressed air can, and a small drill with a collet make cleaning faster and safer. Avoid improvised tools that can scratch delicate parts like the commutator.
Learn From Setbacks
Breaking a motor is part of the learning process. Even experienced restorers have melted motors during early projects. Start with inexpensive machines so mistakes do not cost you dearly.
Frequently Asked Questions About Cleaning a Vacuum Motor
Can I use water to clean a vacuum motor?
You can rinse the armature and field coil with soapy water, but never submerge the entire motor. Every component must dry completely before reassembly to prevent corrosion and electrical shorts.
How do I know if my vacuum motor needs cleaning?
Common signs include reduced suction, overheating, unusual noise, or a burning smell. If the vacuum runs normally and quietly, leave the motor alone; cleaning a working motor often causes more harm than good.
What type of lubricant should I use on vacuum motor bearings?
Use light machine oil for sleeve bearings and sintered bronze bushings. Use silicone-based or electric motor grease for ball bearings. Never lubricate sealed bearings or apply lubricant near windings or the commutator.
Is it worth cleaning an old vacuum motor?
Cleaning makes sense when the motor still runs but shows signs of wear or reduced performance. If the motor is silent, smells burnt, or has visible damage, replacement is usually more cost-effective than repair.
How often should I clean my vacuum motor?
Clean the motor only when symptoms appear, such as noise, overheating, or weak suction. Routine disassembly is unnecessary and increases the risk of damage. Regular filter and brush roll maintenance prevents most motor problems before they start.
Final Thoughts on Cleaning a Vacuum Motor Safely
Knowing how to clean a vacuum motor can save you money and extend the life of your machine, but only when done with care. Always unplug the vacuum, identify your bearing type, and use the correct cleaning agents and lubricants. Avoid the temptation to disassemble a motor that is already working well, and know the warning signs that point toward replacement instead of repair.
Start with simple machines, document every step, and do not hesitate to seek guidance from experienced technicians. With the right approach, you can keep your vacuum running strongly for years while avoiding the costly mistakes that destroy motors.


