
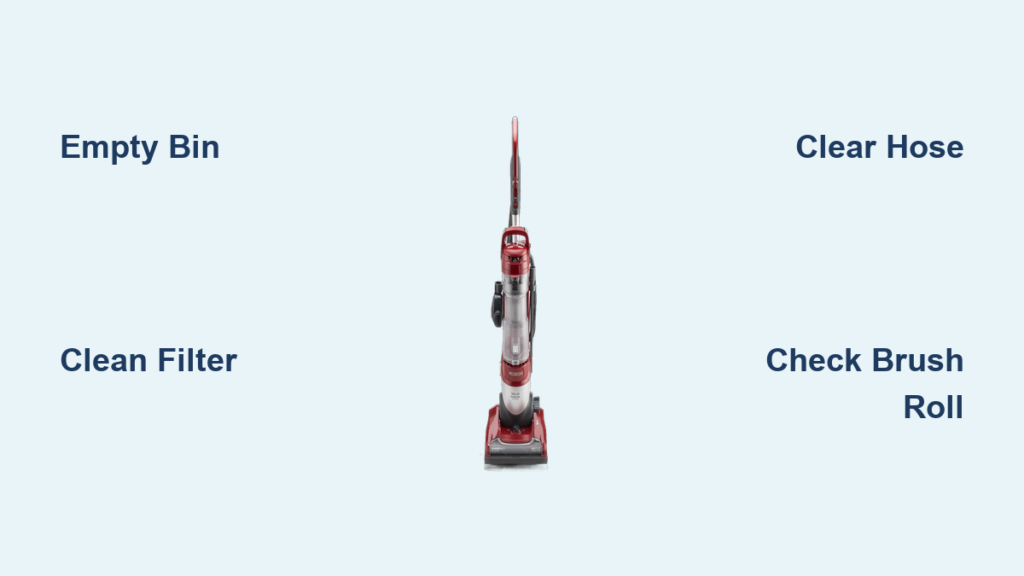
Is your Kenmore vacuum not picking up debris like it used to? A clogged hose, dirty filter, or jammed brush roll could be to blame. Over time, dust, hair, and debris build up in key areas, reducing suction and performance. The good news? Most issues can be fixed with a thorough cleaning you can do at home in under an hour.
Cleaning your Kenmore vacuum regularly is not just about better performance. It extends the life of the machine and improves indoor air quality. Whether you own a bagged or bagless upright, canister, or stick model, this guide covers every step to restore full power. You will learn how to clear blockages, wash filters, maintain the brush roll, and prevent future problems, all with simple tools and household items.
Empty and Clean the Dust Container
Remove and Empty the Bin
For bagless Kenmore vacuums, start by turning off and unplugging the unit. Hold the vacuum over a trash can and press the release button to detach the dust bin. Empty all contents completely. Tap the bin gently to dislodge stuck on dust.
Wash the Bin with Soapy Water
Rinse the bin under warm water. Use a mild dish soap and soft sponge to clean interior surfaces. Avoid harsh scrubbers that can scratch plastic. Let the bin air dry completely. Never reinstall a wet bin, as moisture damages the motor.
Clean or Replace the Filter

Locate the Filter Housing
Most Kenmore vacuums have one or more filters, typically a foam pre-motor filter and a HEPA post-motor filter. Open the filter compartment, usually behind the dust bin or near the motor housing. Refer to your model’s manual if unsure.
Wash Reusable Foam Filters
If your model has a foam filter, rinse it under cool water. Gently squeeze to remove dust. Do not twist or wring. Use a soft brush for stubborn grime. Rinse until water runs clear. Air dry for 24 hours before reinstalling.
Replace HEPA and Non-Washable Filters
HEPA filters cannot be washed. Tap gently to remove loose dust, but replace every 6 to 12 months depending on use. If the filter looks dark or damaged, install a new OEM Kenmore filter to maintain suction and air quality.
Pro Tip: Mark your calendar every 6 months as a reminder to check filter condition. A quick visual inspection takes seconds and saves you from sudden suction loss.
Clear Hose and Wand Blockages
Detach the Hose and Wand
Unplug the vacuum. Disconnect the hose from both the wand and the main body. Remove the wand from the handle if applicable. Lay all parts flat for inspection.
Check for Clogs Visually
Shine a flashlight into each end of the hose and wand. Look for visible obstructions like hair, paper, or small objects. If you see a blockage, proceed to remove it.
Use a Flexible Cleaning Tool
Insert a long bottle brush, plumber’s snake, or a straightened coat hanger wrapped in cloth. Gently push the clog through. Avoid sharp tools that can scratch or puncture the hose lining.
Test Suction Flow
Reconnect the hose and turn on the vacuum without the brush roll. Place your hand near the intake. Strong suction means the line is clear. Weak flow means another blockage. Repeat inspection if needed.
Maintain the Brush Roll
Remove the Brush Roll Cover
Flip the vacuum over. Use a screwdriver to remove the baseplate screws. Carefully lift off the cover to expose the brush roll.
Cut Away Wrapped Hair and Strings
Use scissors or a seam ripper to cut and pull out hair, thread, or fibers wrapped around the brush roll ends and shaft. Be careful not to damage the bristles or bearings.
Inspect for Wear and Spin Freely
Check the brush roll for cracked bristles, warping, or frayed ends. Spin it by hand. It should rotate smoothly. If stiff or wobbly, clean the bearings or replace the roller.
Reinstall with Proper Tension
Slide the brush roll back into place. Ensure the drive belt is aligned and taut. Replace the baseplate and tighten screws securely.
Wipe Down Exterior and Attachments
Clean the Vacuum Body
Dampen a microfiber cloth with water or mild cleaner. Wipe the vacuum’s exterior, handle, and controls. Avoid soaking plastic surfaces. Dry immediately with a clean cloth.
Sanitize Attachments
Clean crevice tools, dusting brushes, and upholstery nozzles under warm water. Let them air dry. Use a cotton swab to remove debris from narrow openings.
Troubleshoot Poor Suction

Confirm Bin Is Properly Seated
A loose dust bin breaks the suction seal. Snap it firmly into place until you hear a click.
Check for Full or Wet Filters
A damp or clogged filter restricts airflow. Replace or dry filters completely before use.
Inspect for Cracked Hoses
Look for splits or holes in the hose, especially near connections. Even small cracks reduce suction power.
Verify Belt Tension
A loose or broken drive belt stops the brush roll from spinning. Replace if frayed, stretched, or snapped.
Prevent Future Buildup
Empty Bin After Each Use
Do not wait until the bin is full. Empty it after every cleaning session to prevent odor and clogs.
Schedule Monthly Maintenance
Set a monthly reminder to clean filters, check the hose, and inspect the brush roll. Regular upkeep prevents major repairs.
Avoid Wet Spills and Large Debris
Never vacuum liquids, wet food, or large chunks. These can damage the motor or clog internal passages.
Store Properly
Wrap and Secure the Cord
Wrap the power cord neatly around the cord hooks. Avoid yanking or over-tightening, which can damage internal wiring.
Store in a Dry, Cool Place
Keep the vacuum in a dry area away from moisture and extreme temperatures. Moisture promotes mold and electrical issues.
Hang Hose and Attachments
Use built-in clips or a wall mount to store the hose and tools off the floor, preventing kinks and damage.
Frequently Asked Questions About Cleaning a Kenmore Vacuum
How often should I clean my Kenmore vacuum filter?
Clean foam filters every 1 to 3 months depending on usage. HEPA filters should be replaced every 6 to 12 months. Homes with pets or heavy dust may need more frequent attention.
Can I wash all Kenmore vacuum filters?
No. Only foam and some pleated filters are washable. HEPA filters and activated carbon filters must be replaced, not washed. Check your owner’s manual for specific guidance.
What causes my Kenmore vacuum to lose suction?
Common causes include a full dust bin, clogged filter, blocked hose, cracked hose, or broken drive belt. Work through each component systematically to identify the issue.
How do I remove hair from the brush roll?
Flip the vacuum over, remove the baseplate, and use scissors or a seam ripper to cut hair and thread wrapped around the roller. Pull strands away gently to avoid damaging bristles.
Is it safe to vacuum water with a Kenmore vacuum?
Only if your model is specifically rated for wet use. Standard dry Kenmore vacuums should never pick up liquids, as moisture damages the motor and creates electrical hazards.
Where is the filter located on a Kenmore vacuum?
Most Kenmore models place filters behind the dust bin, on the side of the motor housing, or near the exhaust vent. Your model’s manual shows the exact location and filter type.
Key Takeaways for Keeping Your Kenmore Vacuum Performing Like New
A well maintained Kenmore vacuum delivers stronger suction, cleaner floors, and a longer service life. Focus on three core habits: empty the bin after every use, wash or replace filters on schedule, and clear blockages the moment you notice a performance drop. These small steps take minutes but prevent costly repairs.
Your next step is simple. Set a monthly reminder on your phone right now. When it alerts you, spend 20 minutes walking through the filter, hose, and brush roll checks outlined above. Consistency is what separates vacuums that last five years from those that last fifteen.


